Making a Terrarium
I enjoy creation for its own sake. To produce something is to be an active participant in your life, rather than one who only passively consumes. We are the lenses to experience the world, but we are also the tools to mold it. That is the primary reason I started this site, to put my stamp on the world, even if only in a small way. One of my other favorite forms of creation is building terrariums. Creating a piece of living art is fun and relaxing in the moment, and having a beautiful, flourishing, lively environment right next to me for months or years afterwards provides endless smiles and inspiration. Let’s learn how to make a terrarium in a way which sets it up for the best chance of long-term survival.
Shopping List
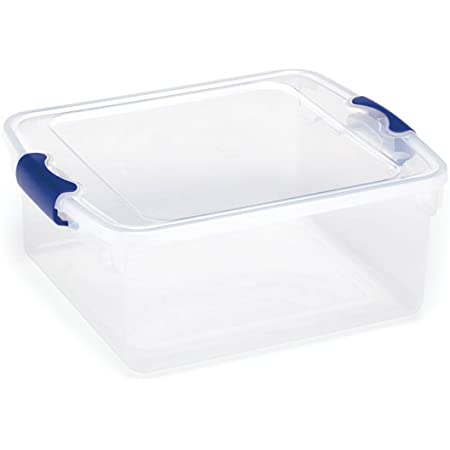
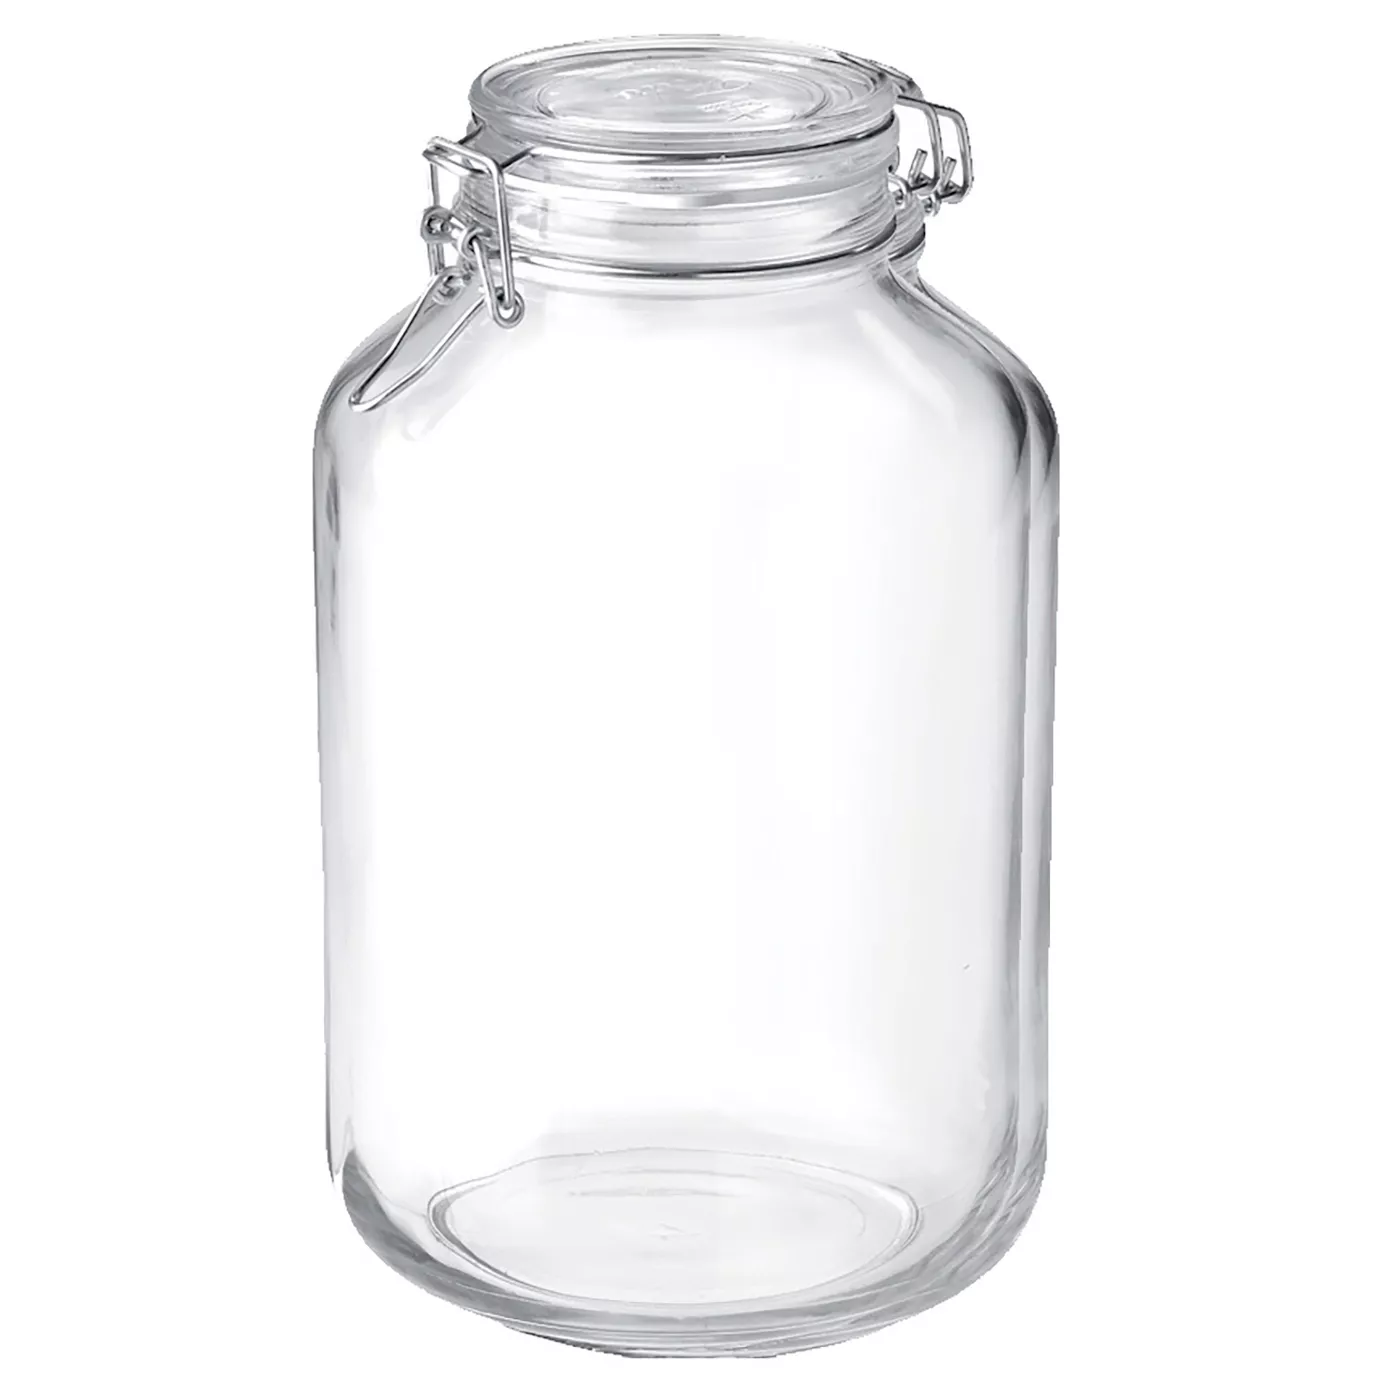
Clear plastic tub or glass container
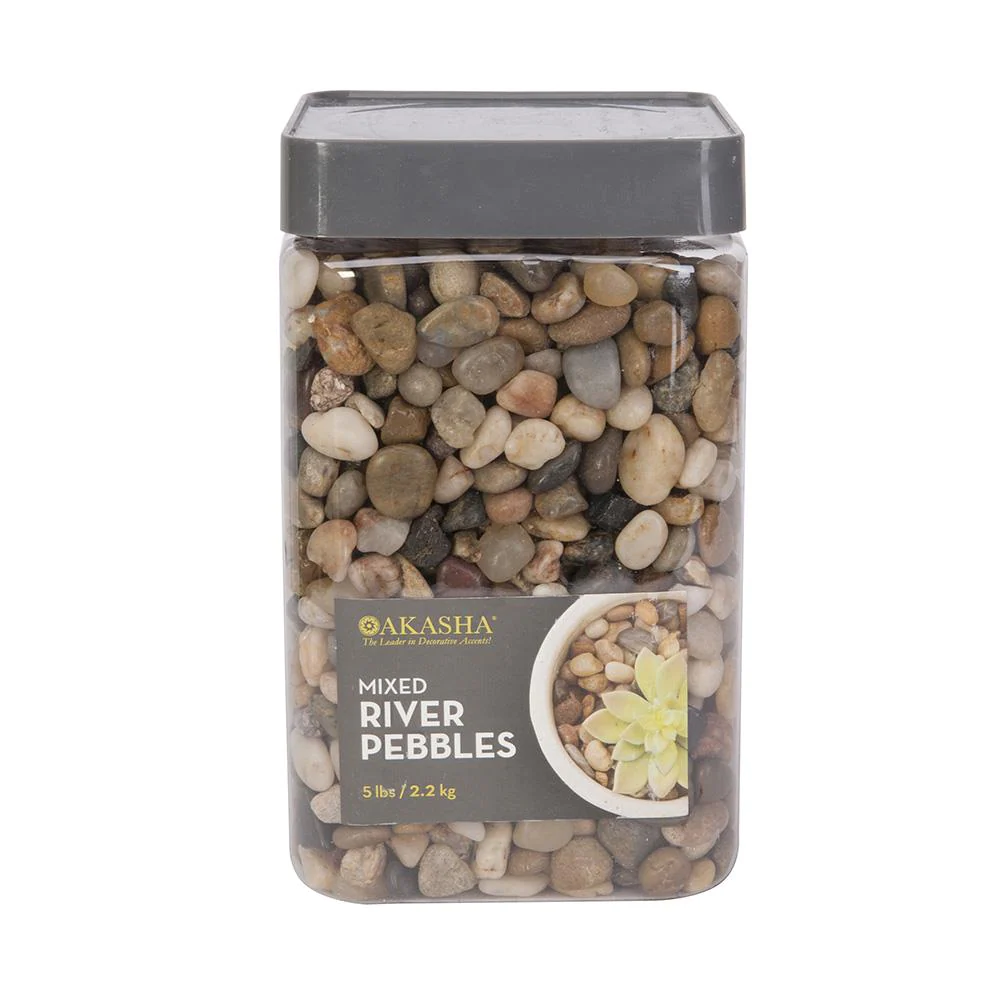
River rocks or gravel
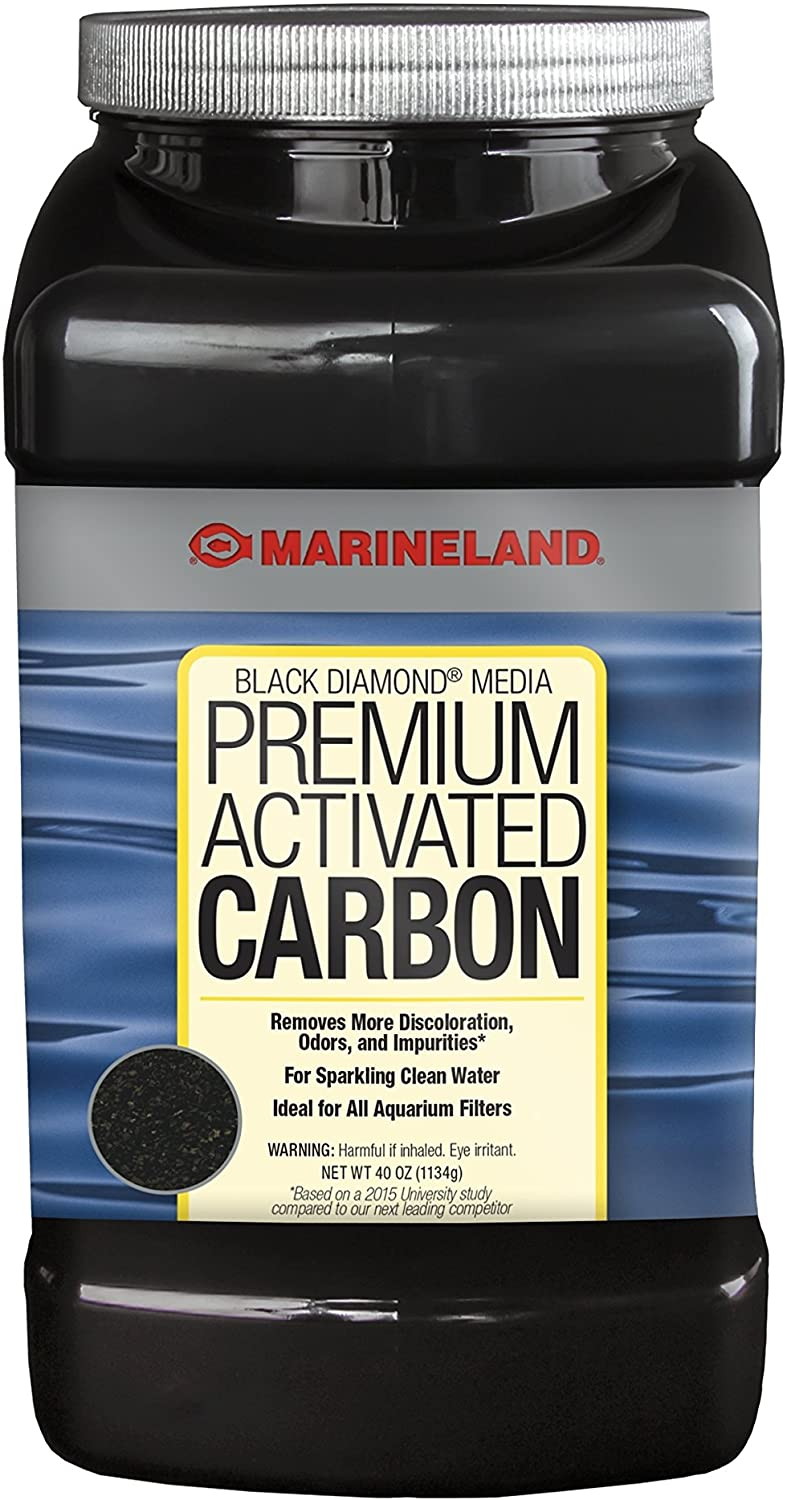
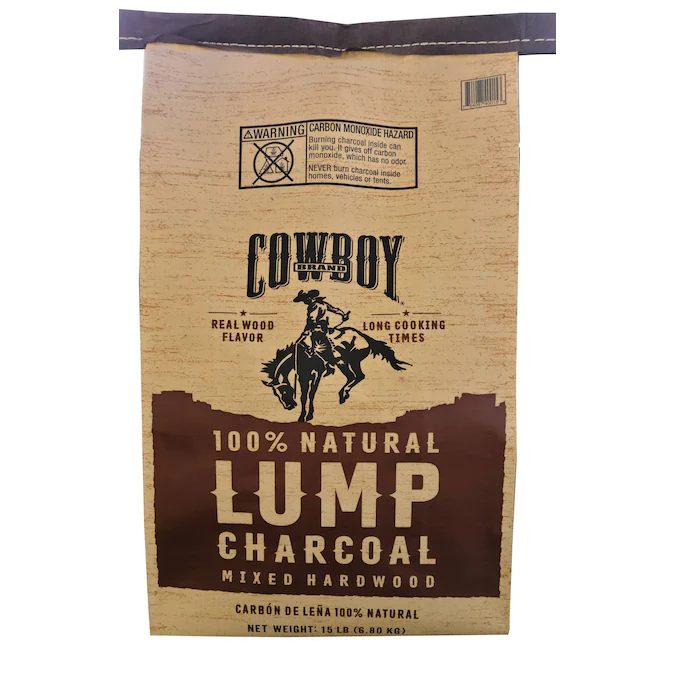
Activated carbon or natural lump charcoal
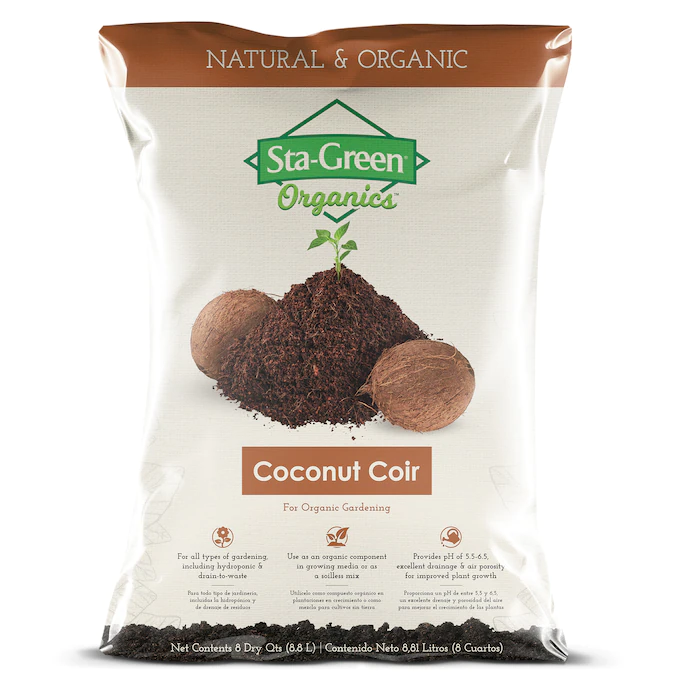
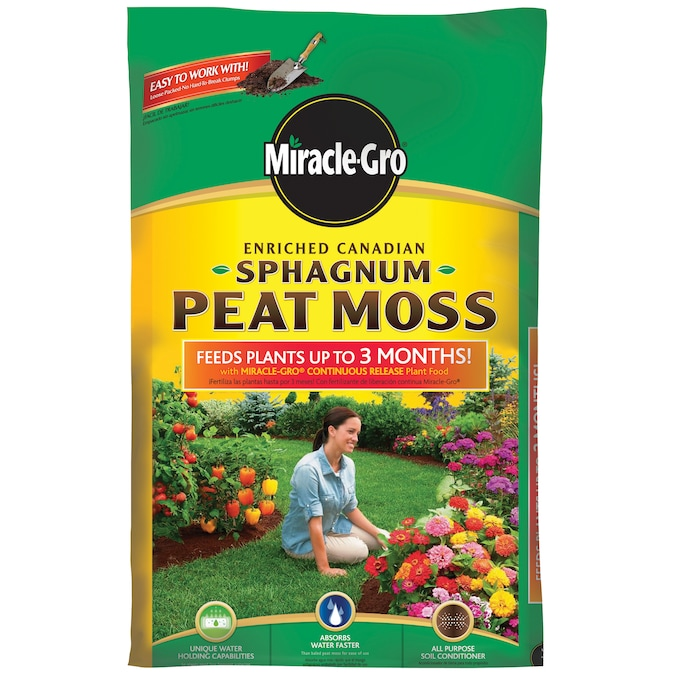
Coco coir or sphagnum peat moss
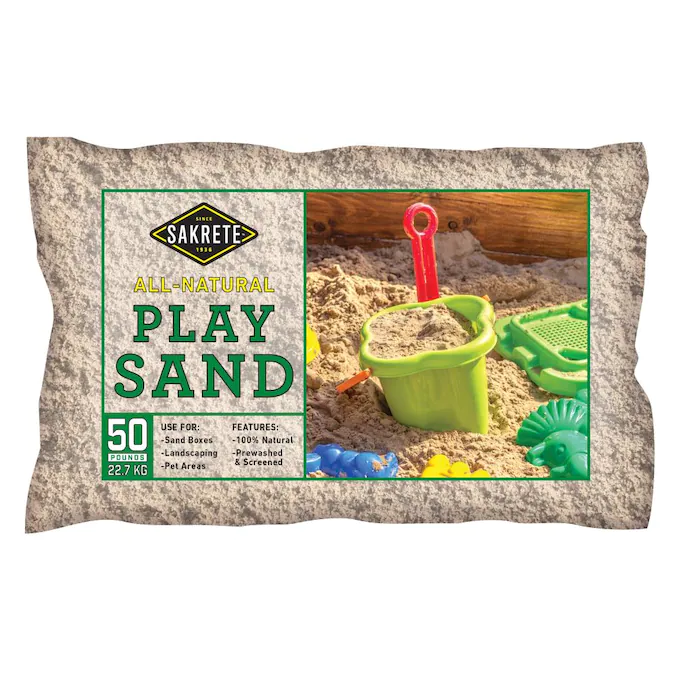
(optional) sand
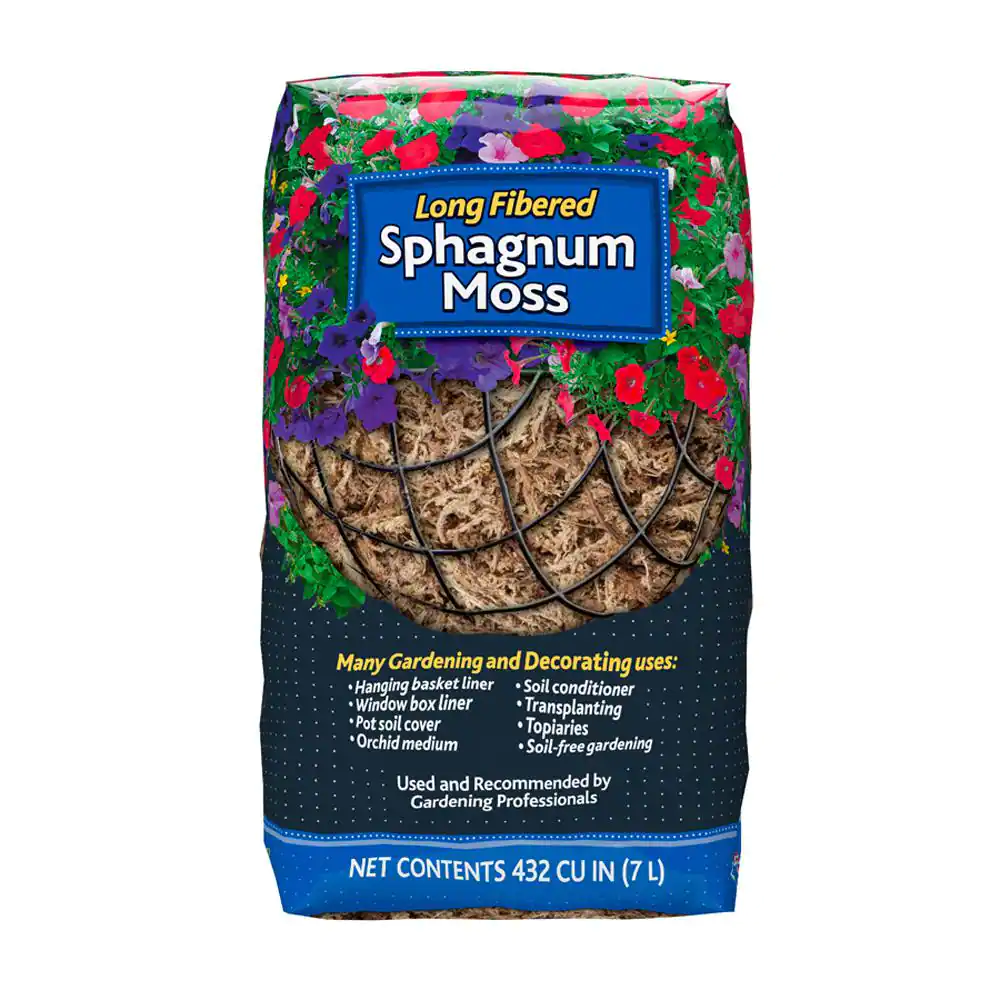
(optional) dried sphagnum moss
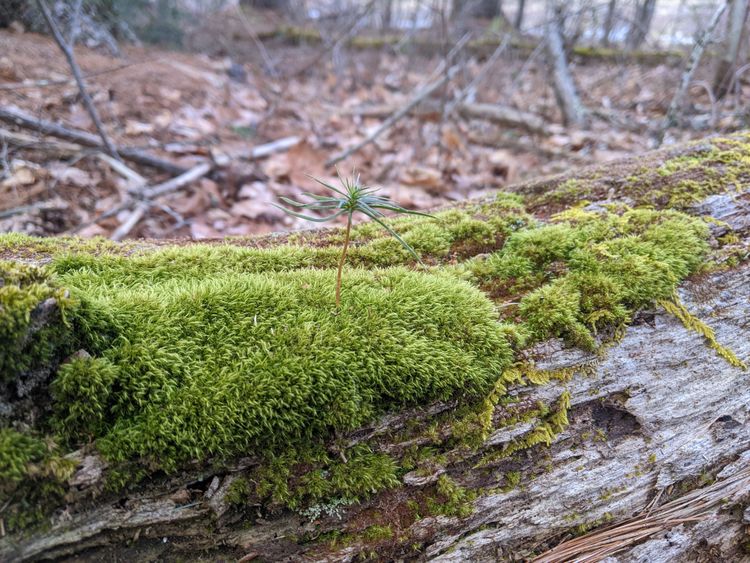
Collect moss
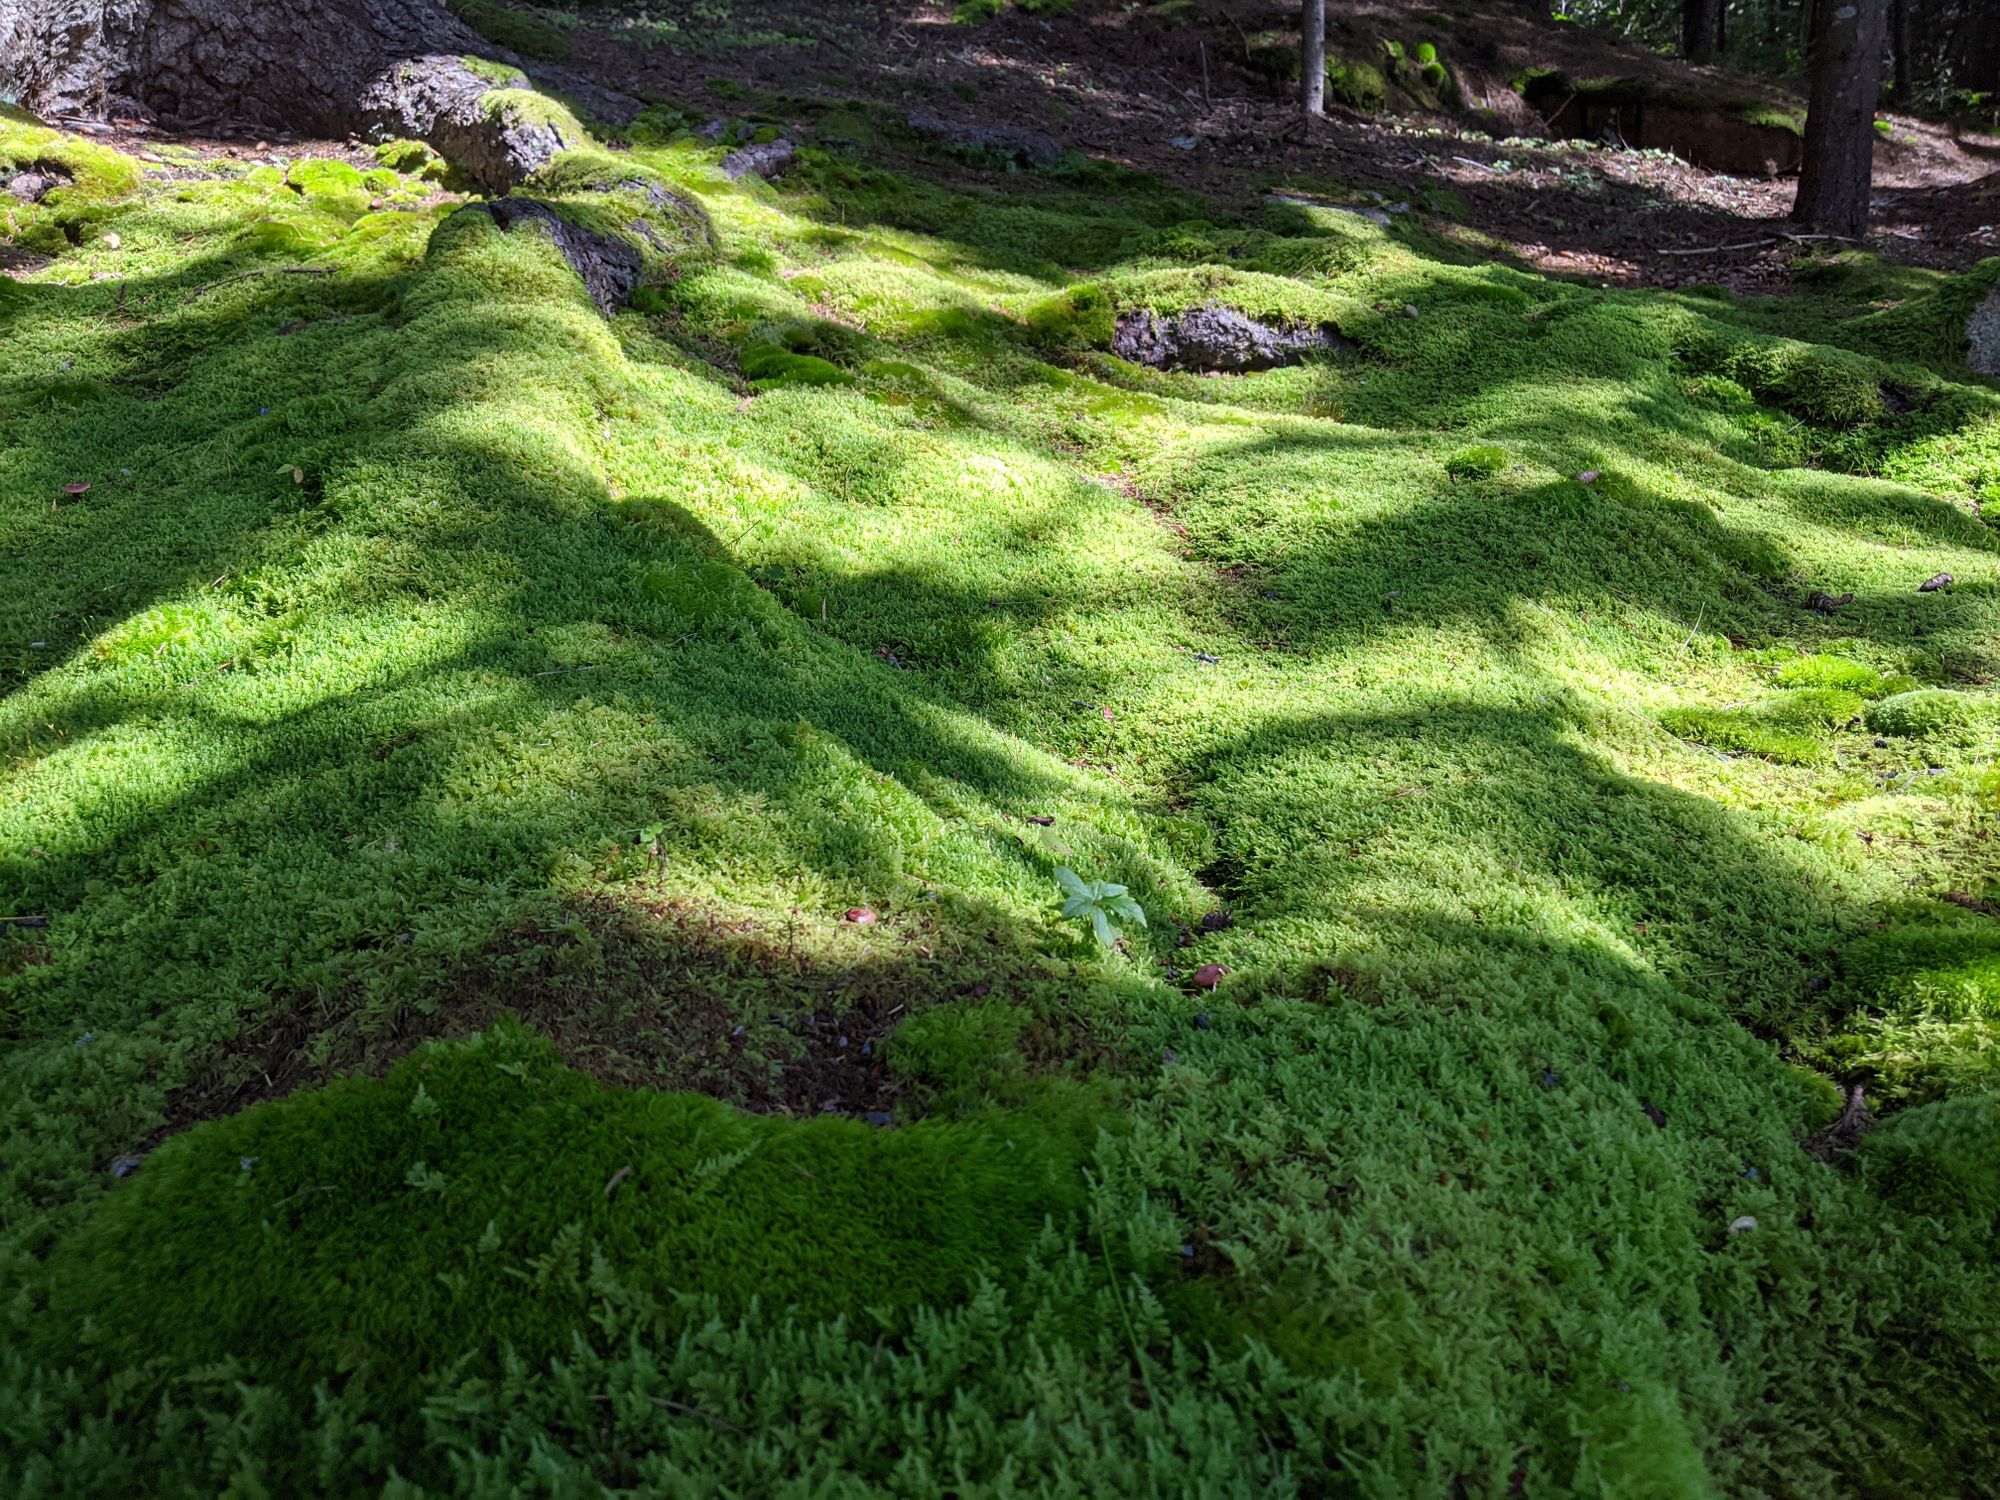
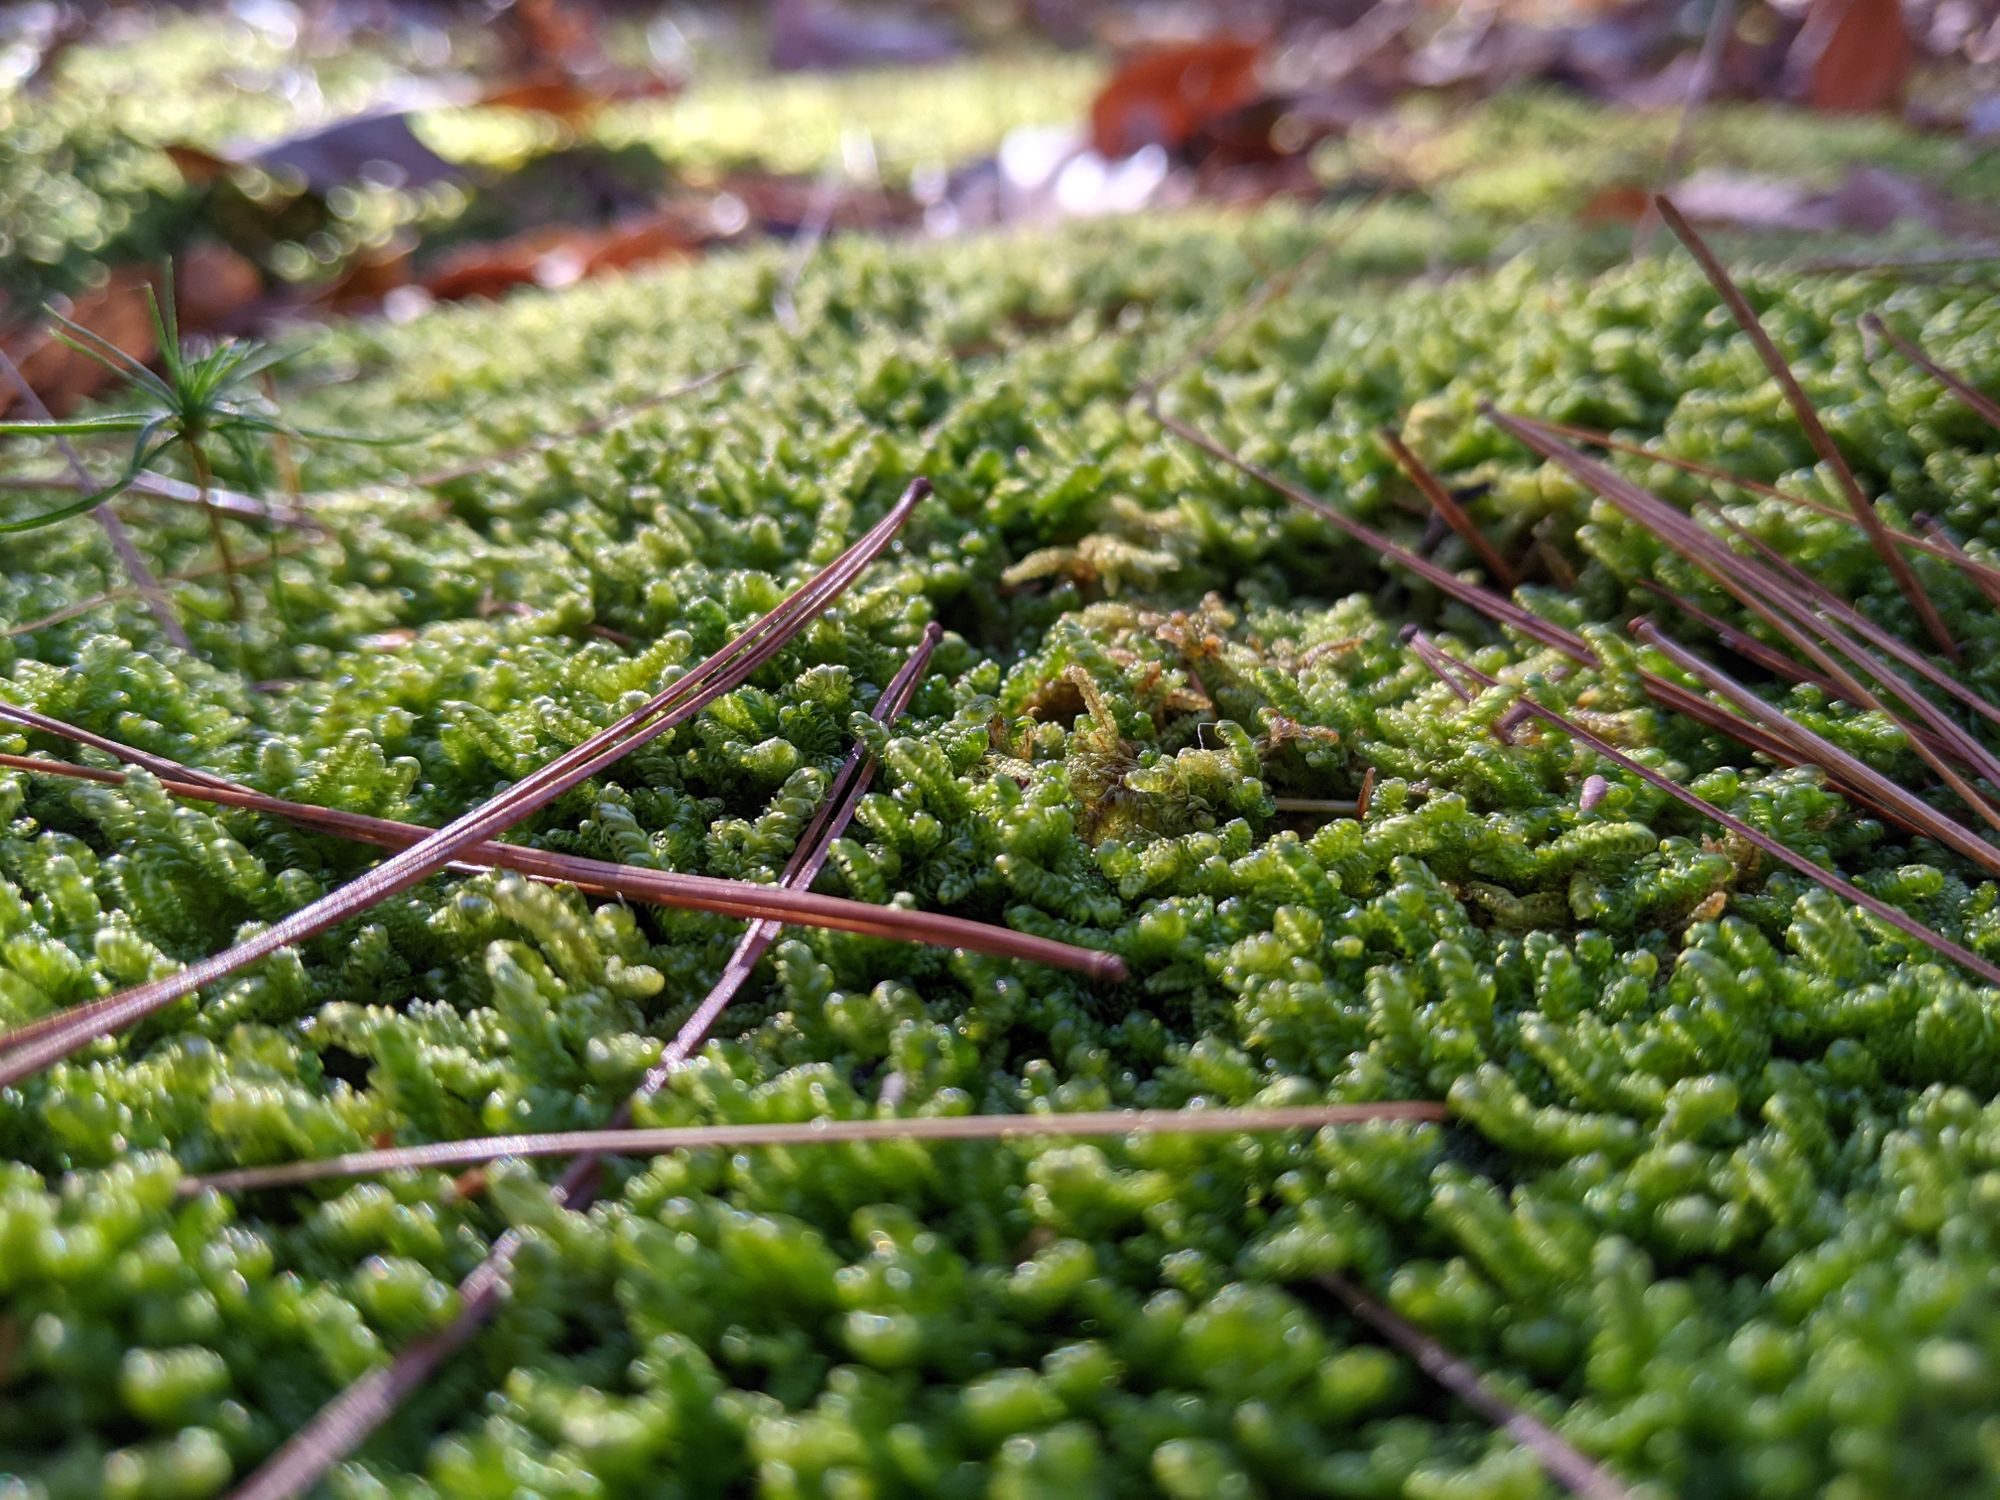
You’ll notice that there weren’t any plants on my shopping list. You can absolutely buy some greenery for your terrarium, but moss is free, abundant throughout much of North America, and hardier than anything you’ll find at a store. Go out there and grab some! Finding some pretty moss might just be my favorite part of building terrariums. Locate a large patch if you can, and just take part of it so it can grow back. It should peel right off of the dirt or rock it’s on since moss does not root. Your moss can then be safely stored in a moist ziploc bag for up to a few weeks while it’s awaiting use. If you do opt to buy, make sure to stick to tropical and subtropical plants as the terrarium will be quite humid. Also, optionally collect some decorative rocks and (if you’re feeling adventurous) bugs!
Wash your container
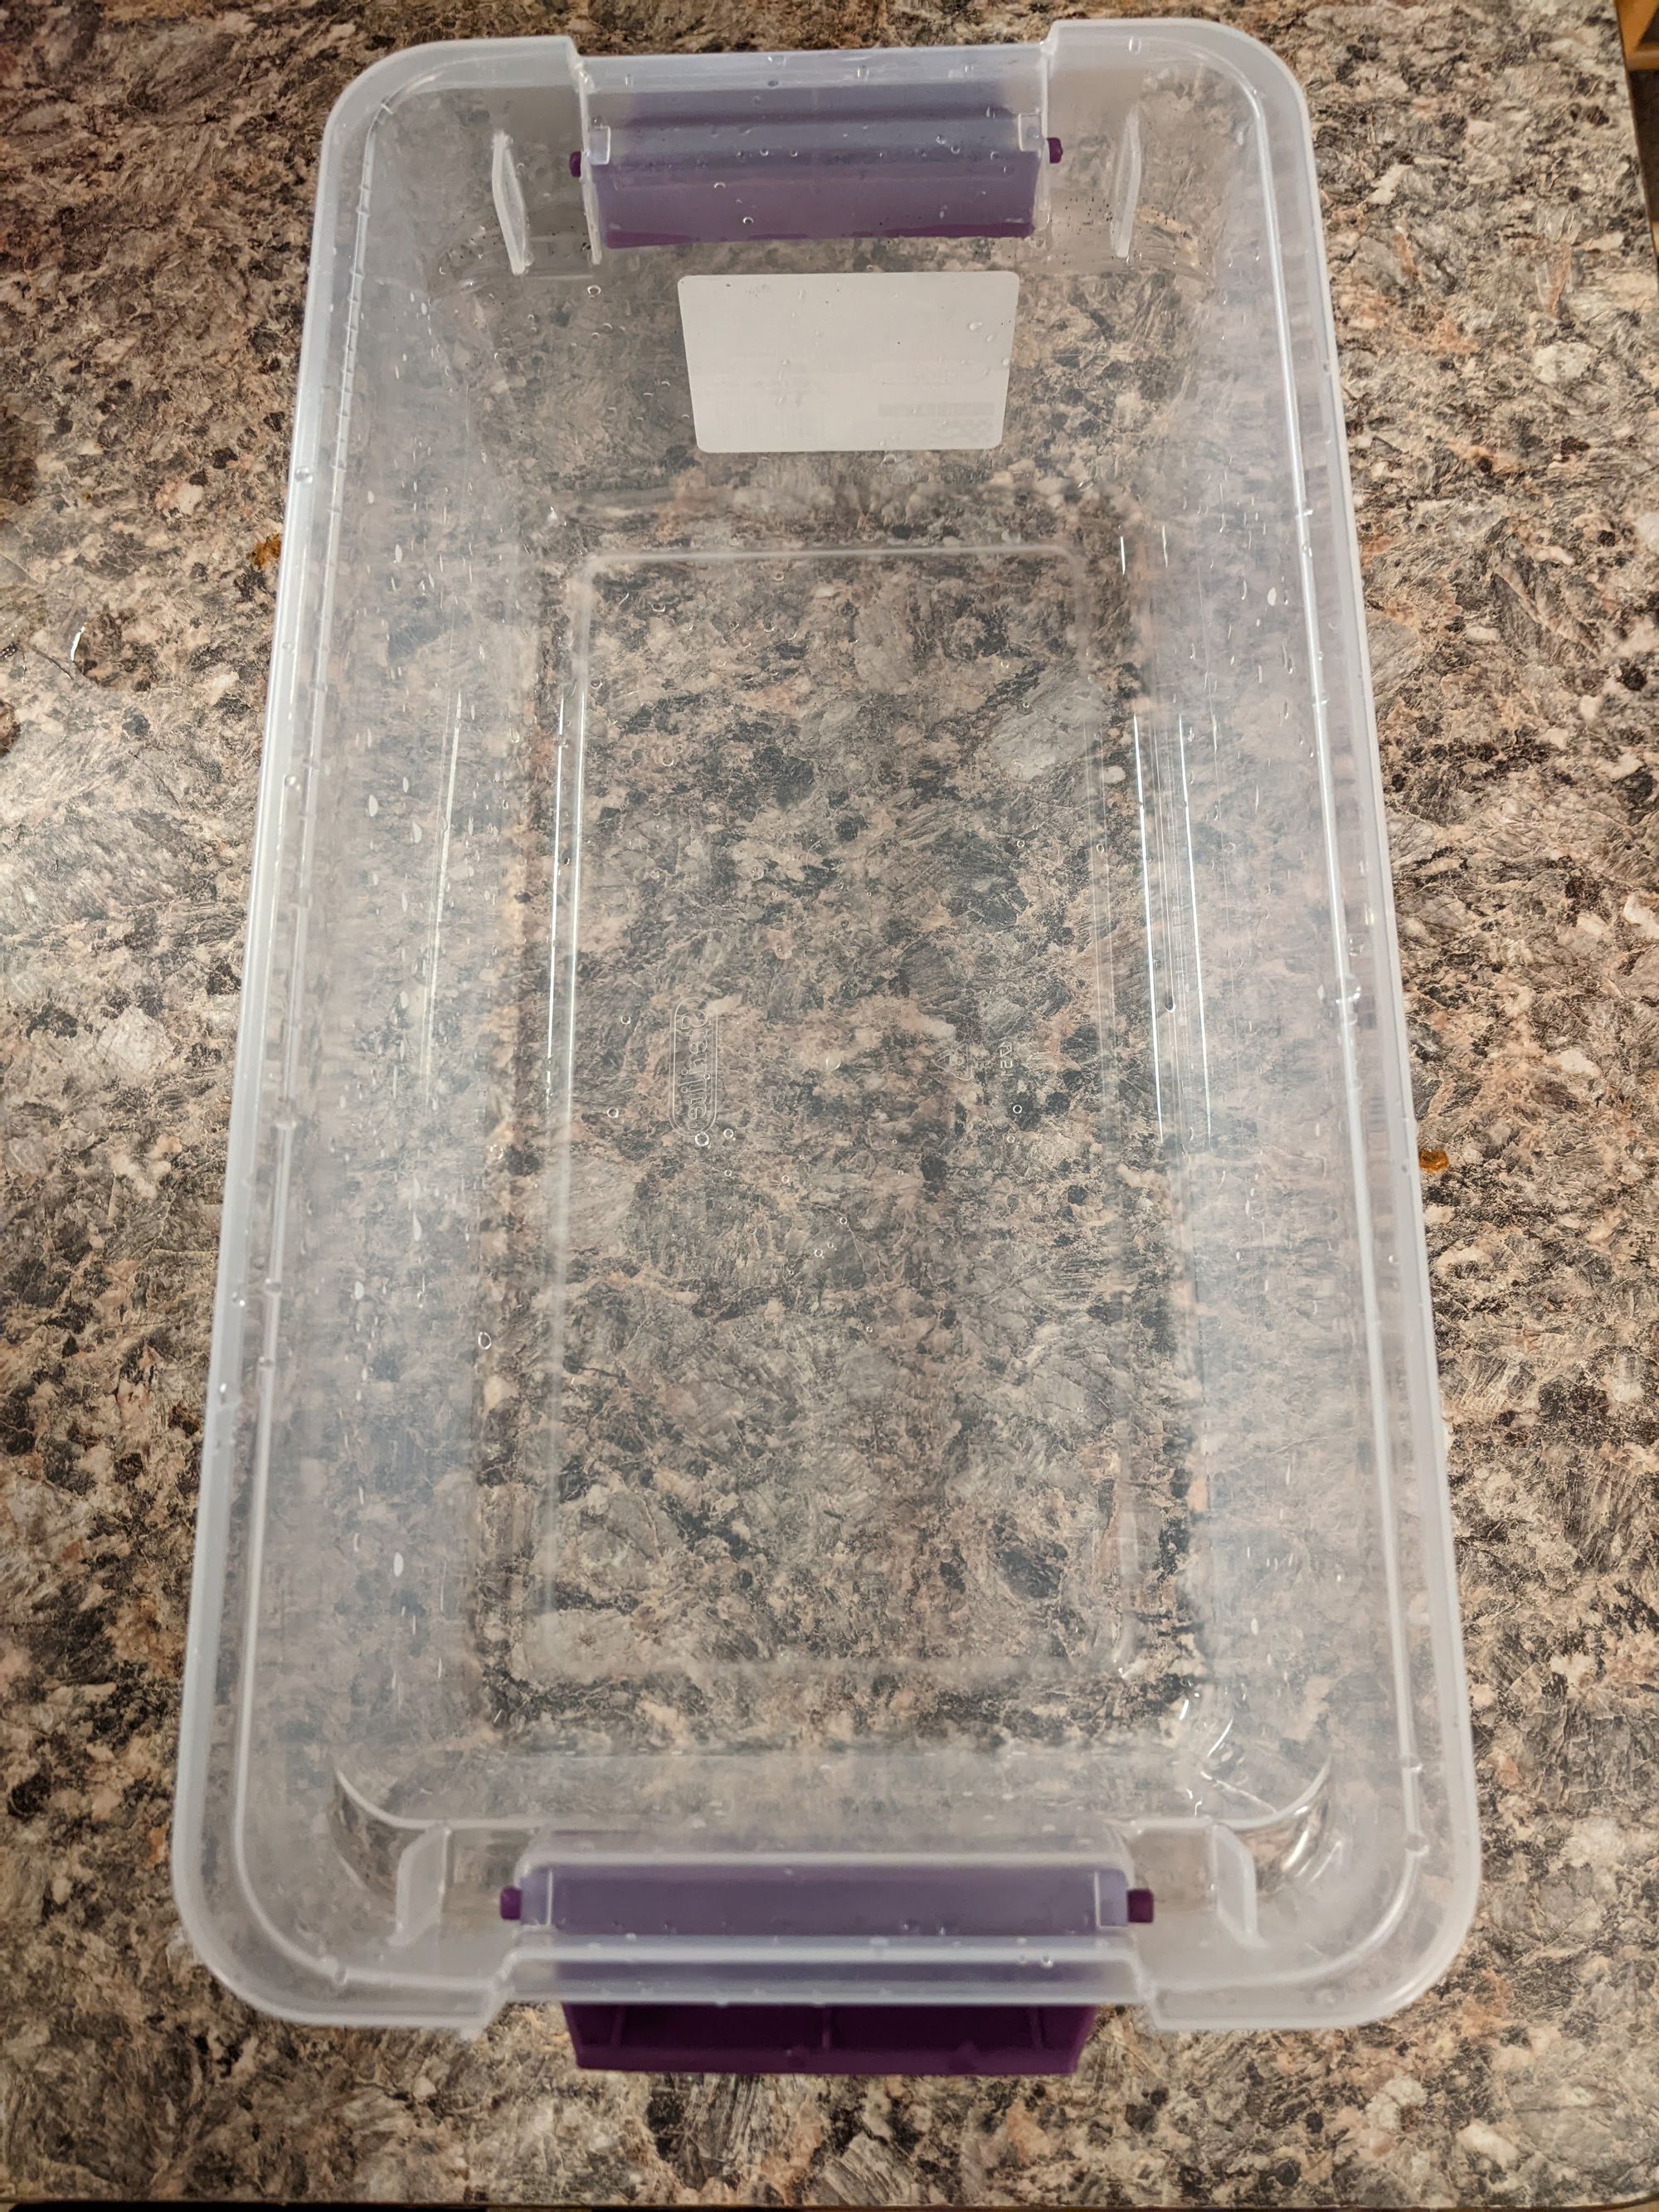
Clean out your plastic or glass container with dish soap before use. I use plastic containers for utility terrariums (for housing bugs and moss awaiting use) and glass containers for display terrariums.
False bottom
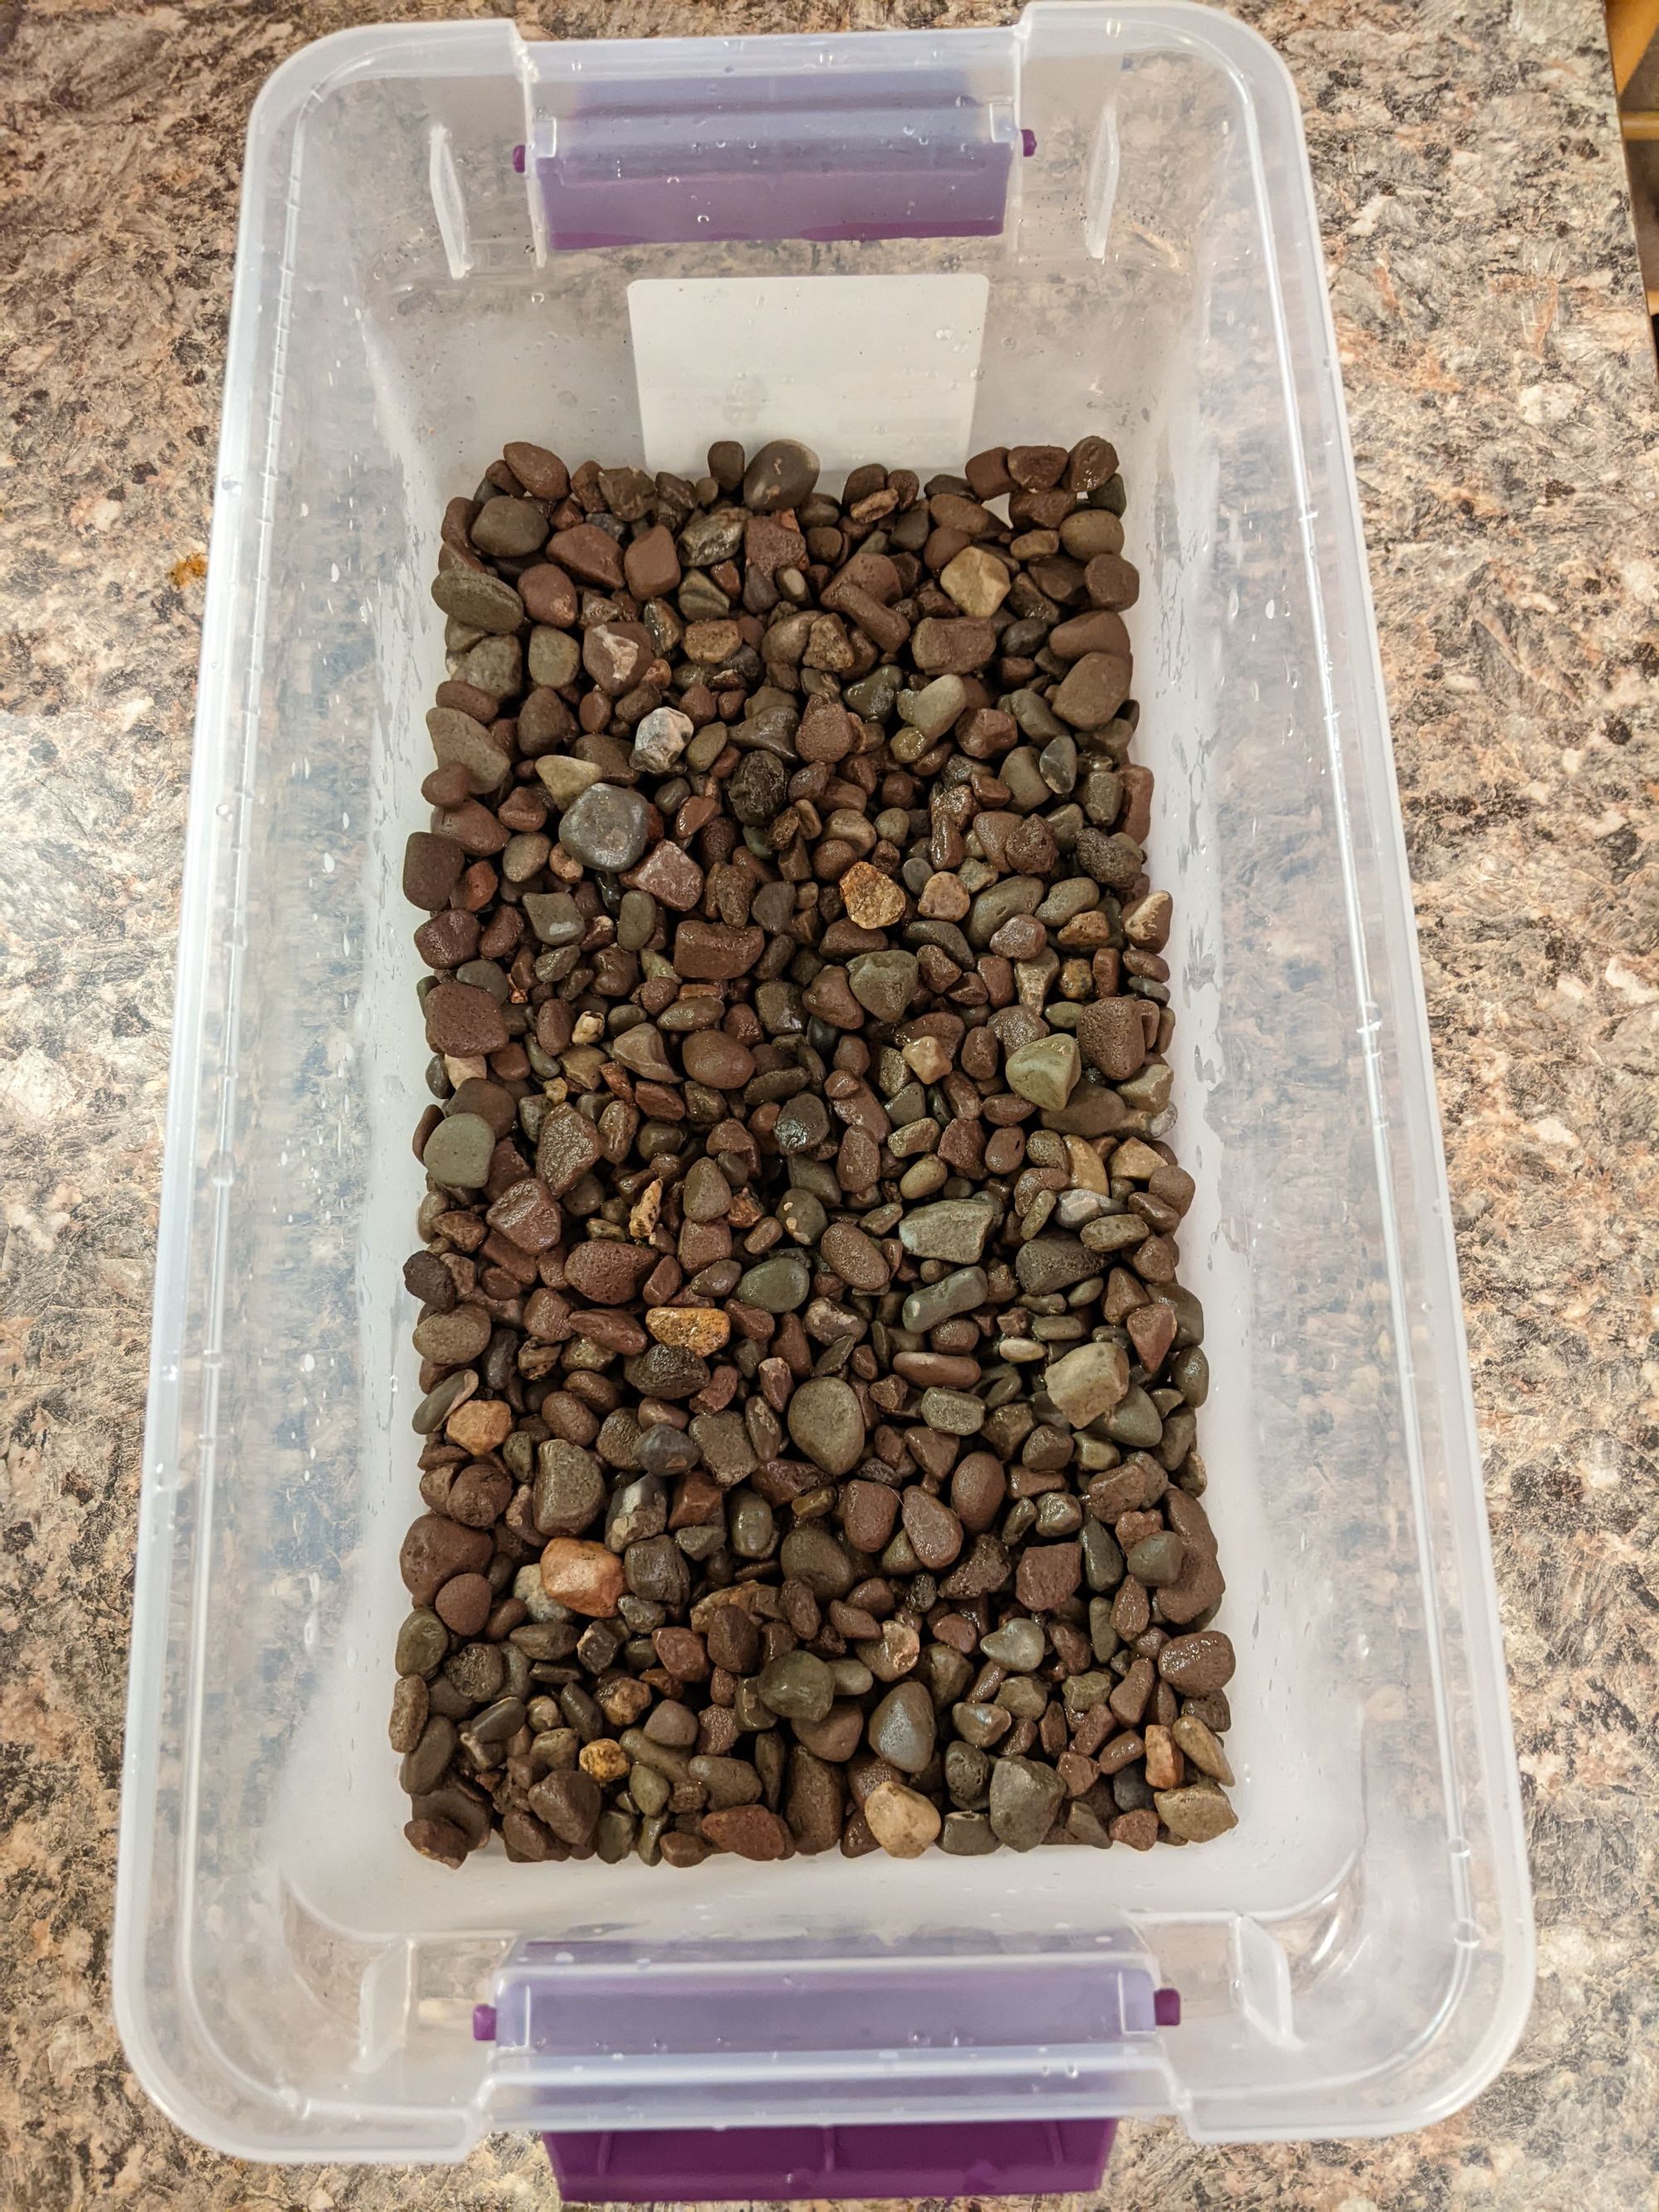
In a large strainer, rinse off your river rocks or gravel with hot water, and then place the still-moist rocks into your container. This will serve as a false bottom for your terrarium, which will allow your substrate layer to drain excess water. I like between a half-inch and 1.5-inch layer of rocks, depending on the height of the container.
Screen layer
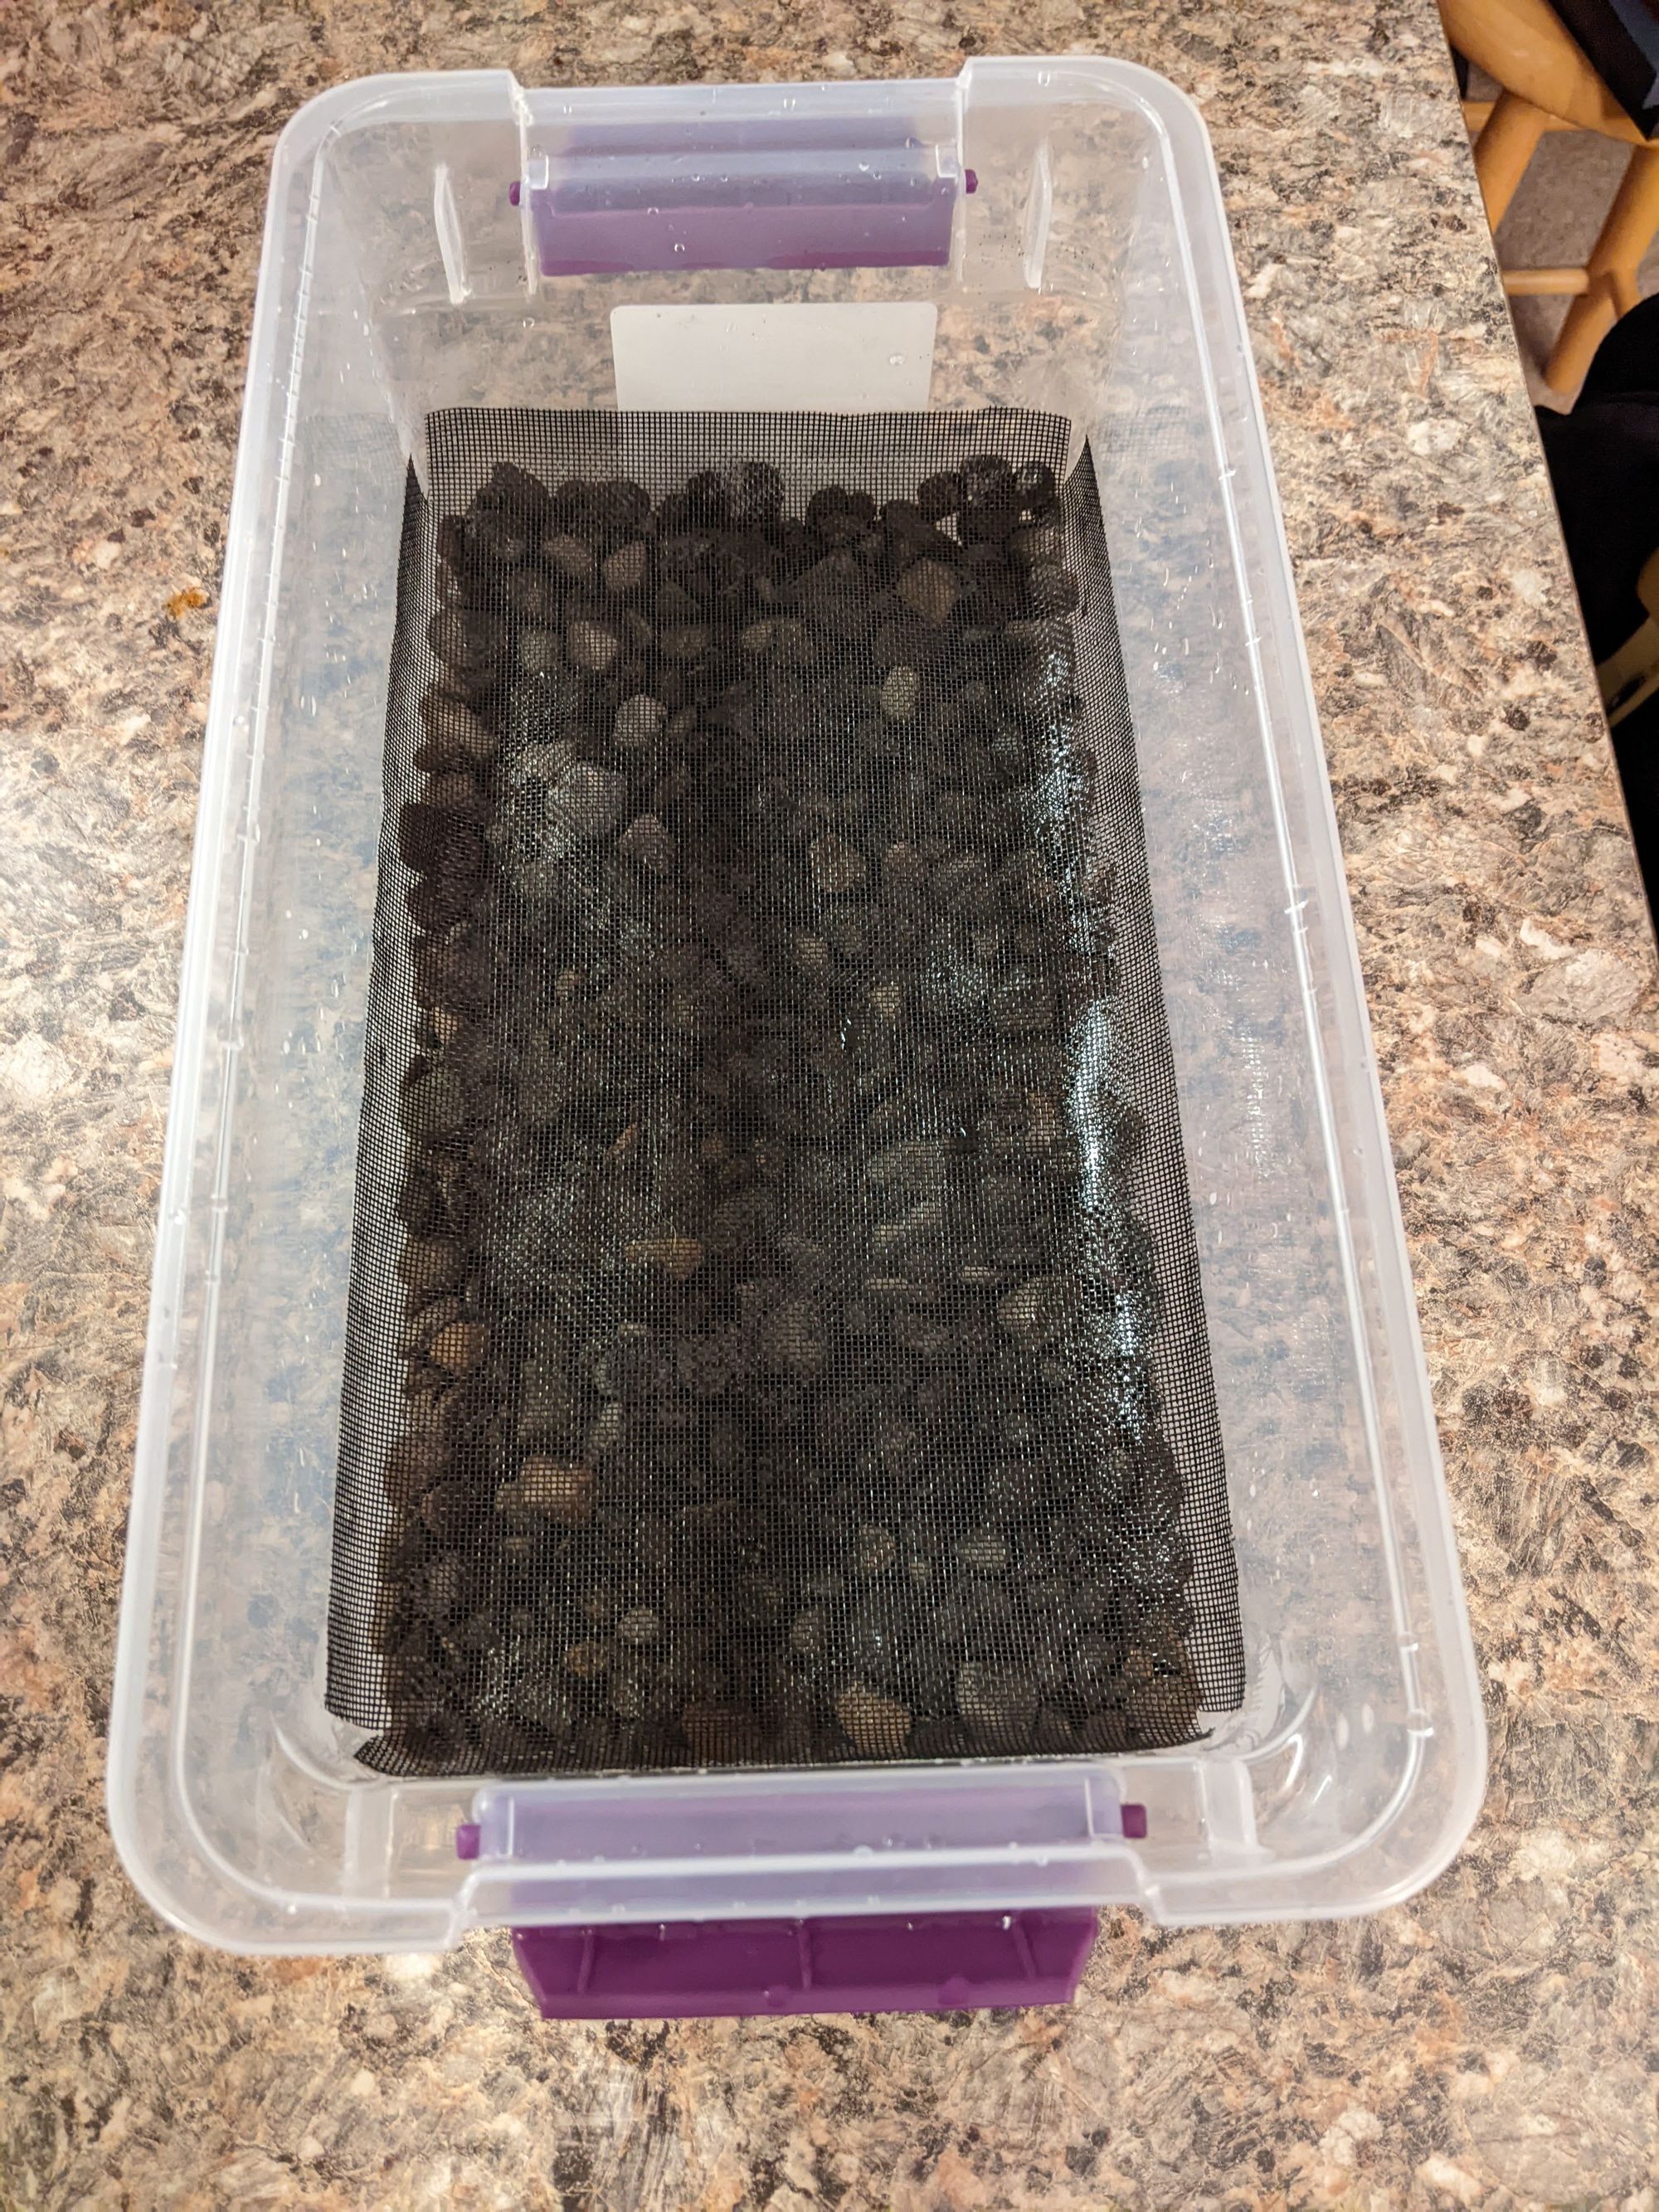
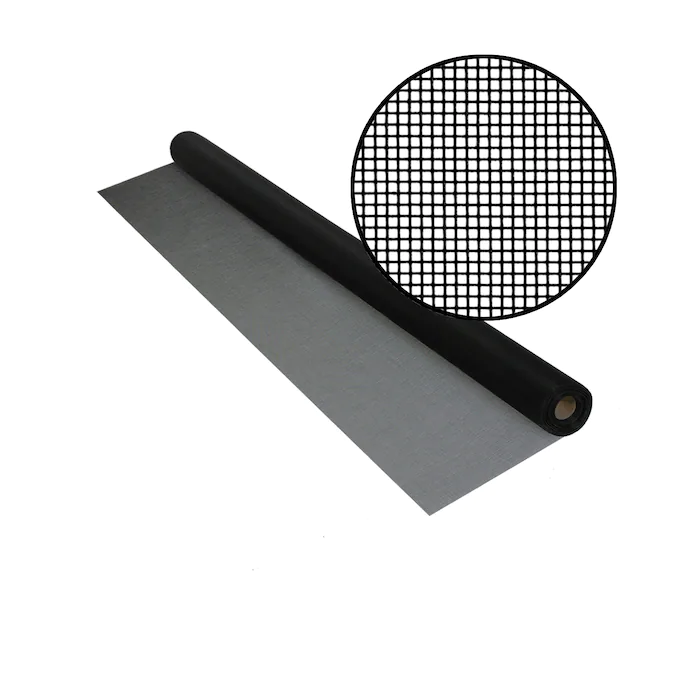
The window screen will maintain your false bottom by preventing your substrate from gradually collapsing into it. Fiberglass window screen is preferred because it will not break down or rust. With scissors, cut your screen slightly larger than your container so it can fold up and prevent substrate from leaking through the sides. For rectangular containers, cut the corners out of your screen so the sides fold up more easily.
Carbon layer
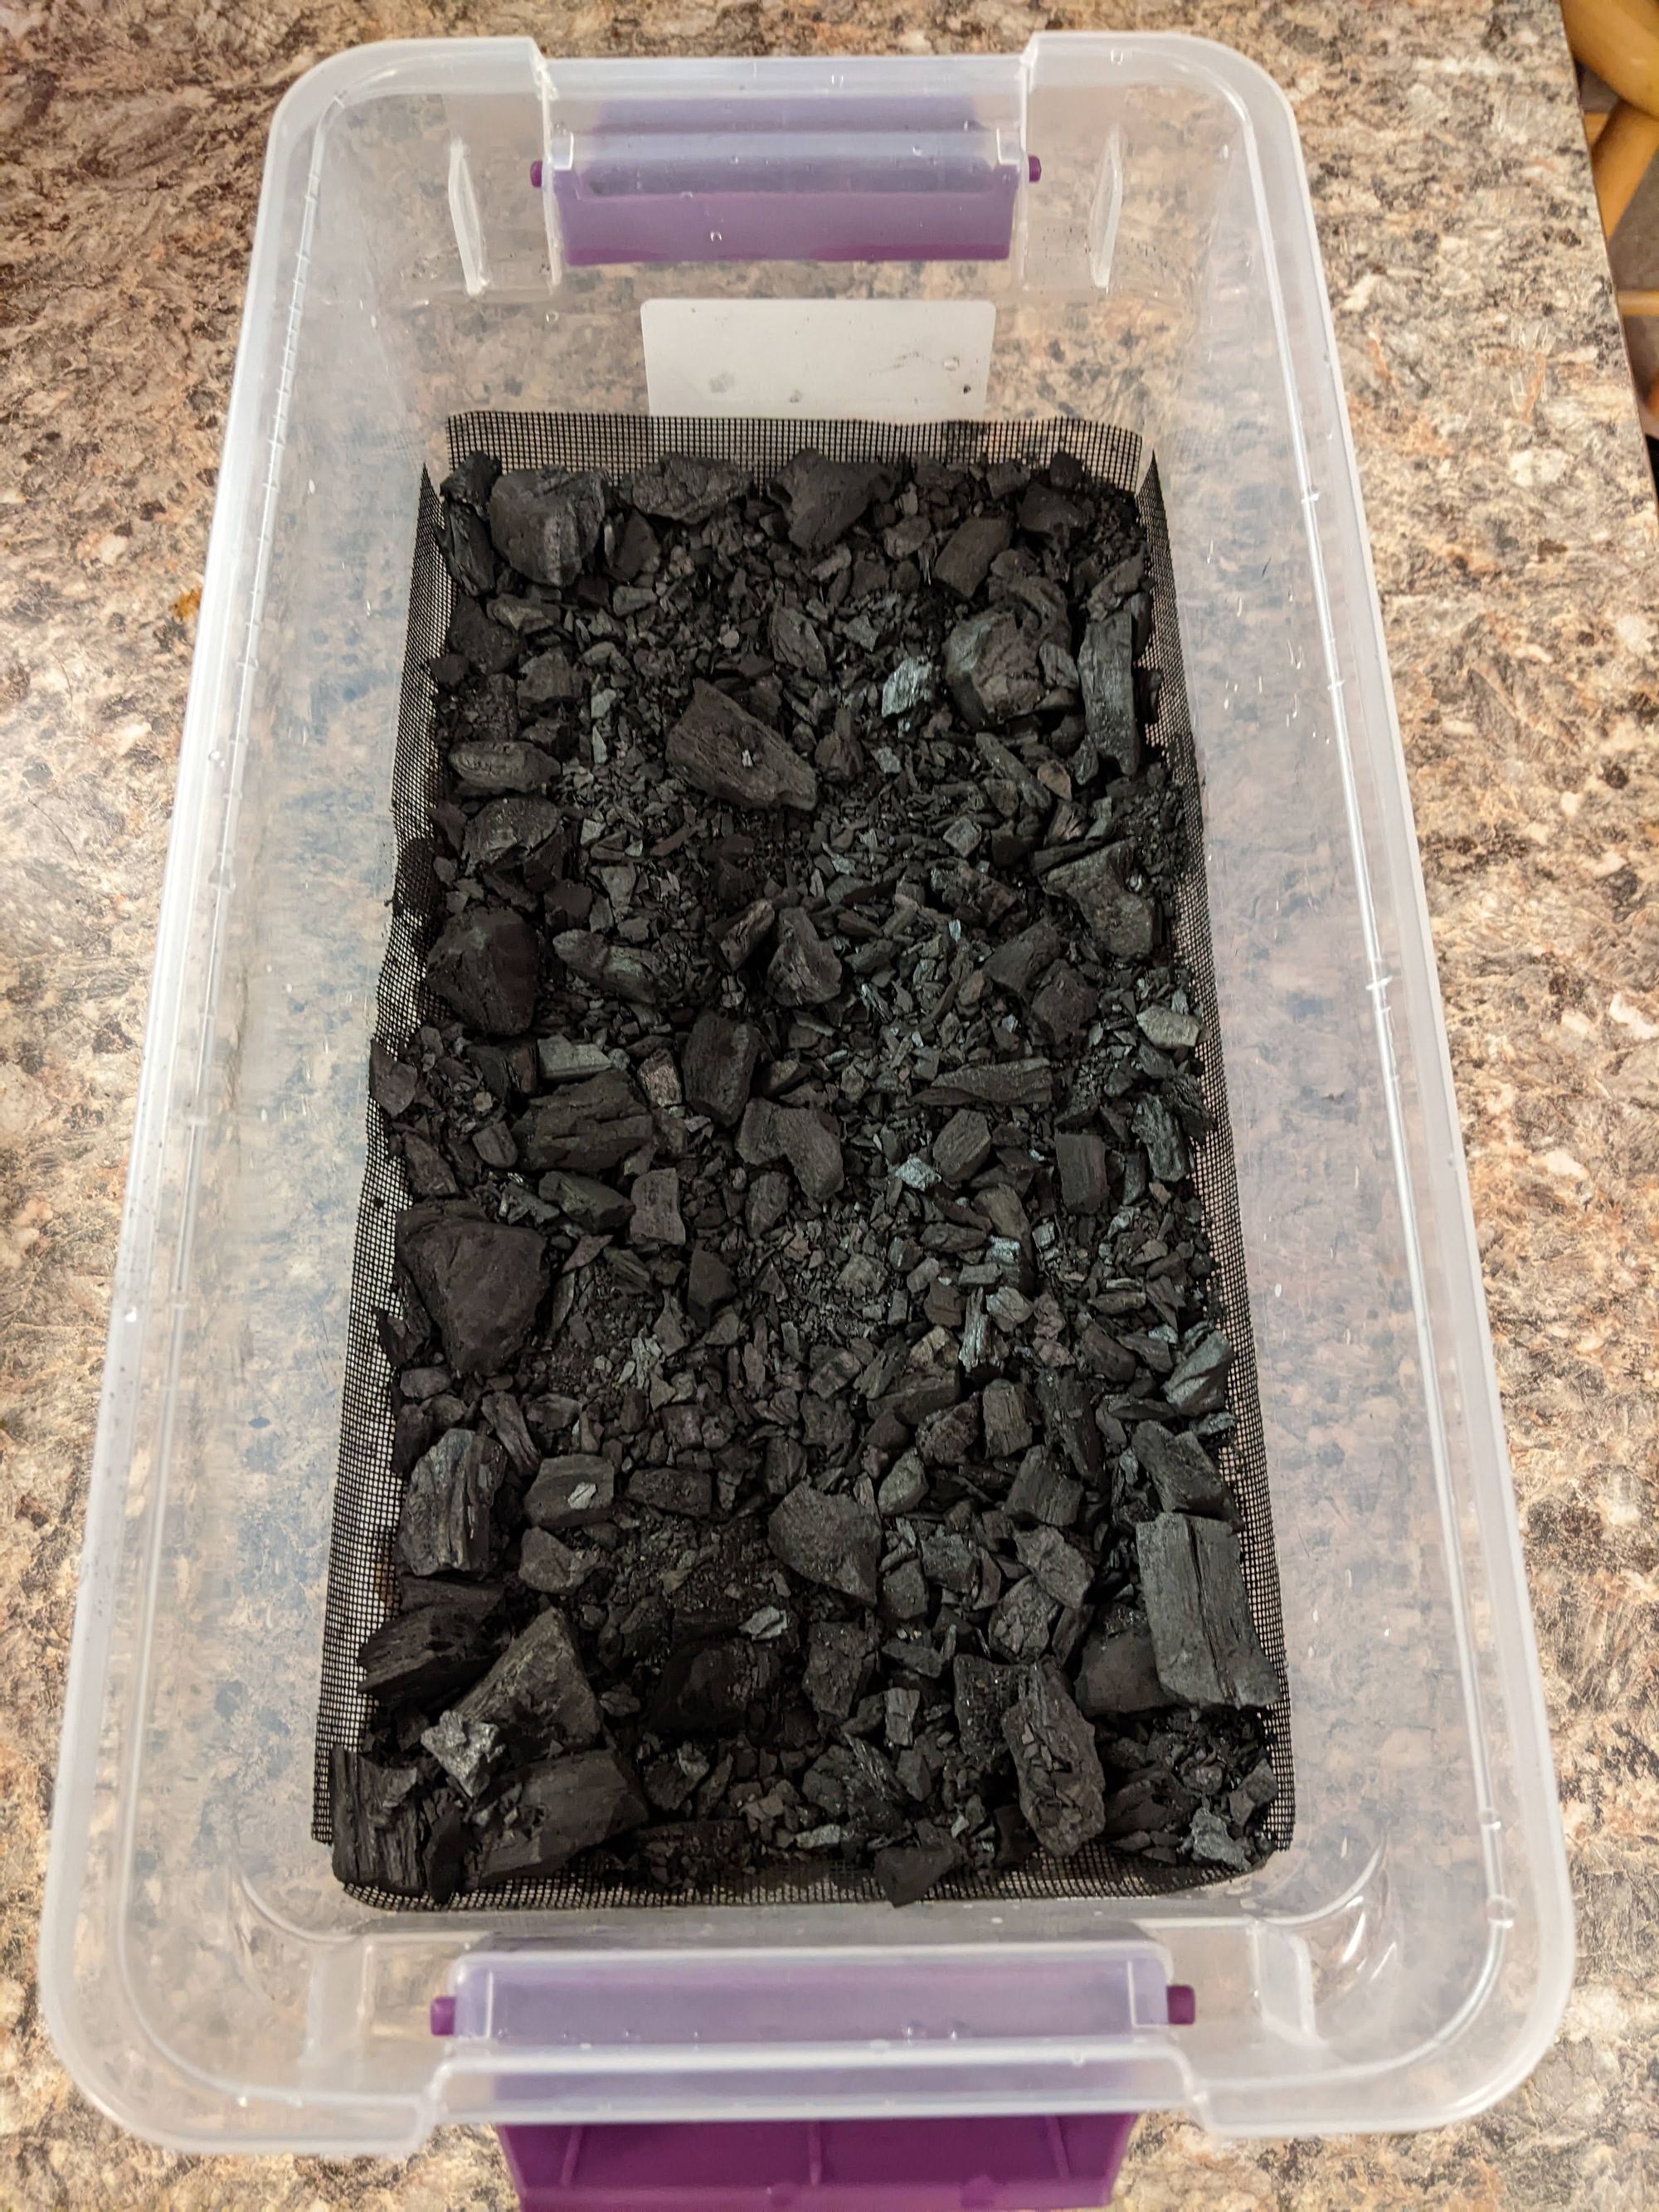
The carbon layer will filter water as it drains from the substrate, helping to keep the system clean and prevent decay. Fish tank activated carbon is my go-to for display terrariums, while in larger utility builds I use natural lump charcoal which I’ve broken up with a hammer. DO NOT USE CHARCOAL BRIQUETTES: THEY ARE TOXIC! A half-inch layer—or even less in small builds—should suffice.
Substrate layer
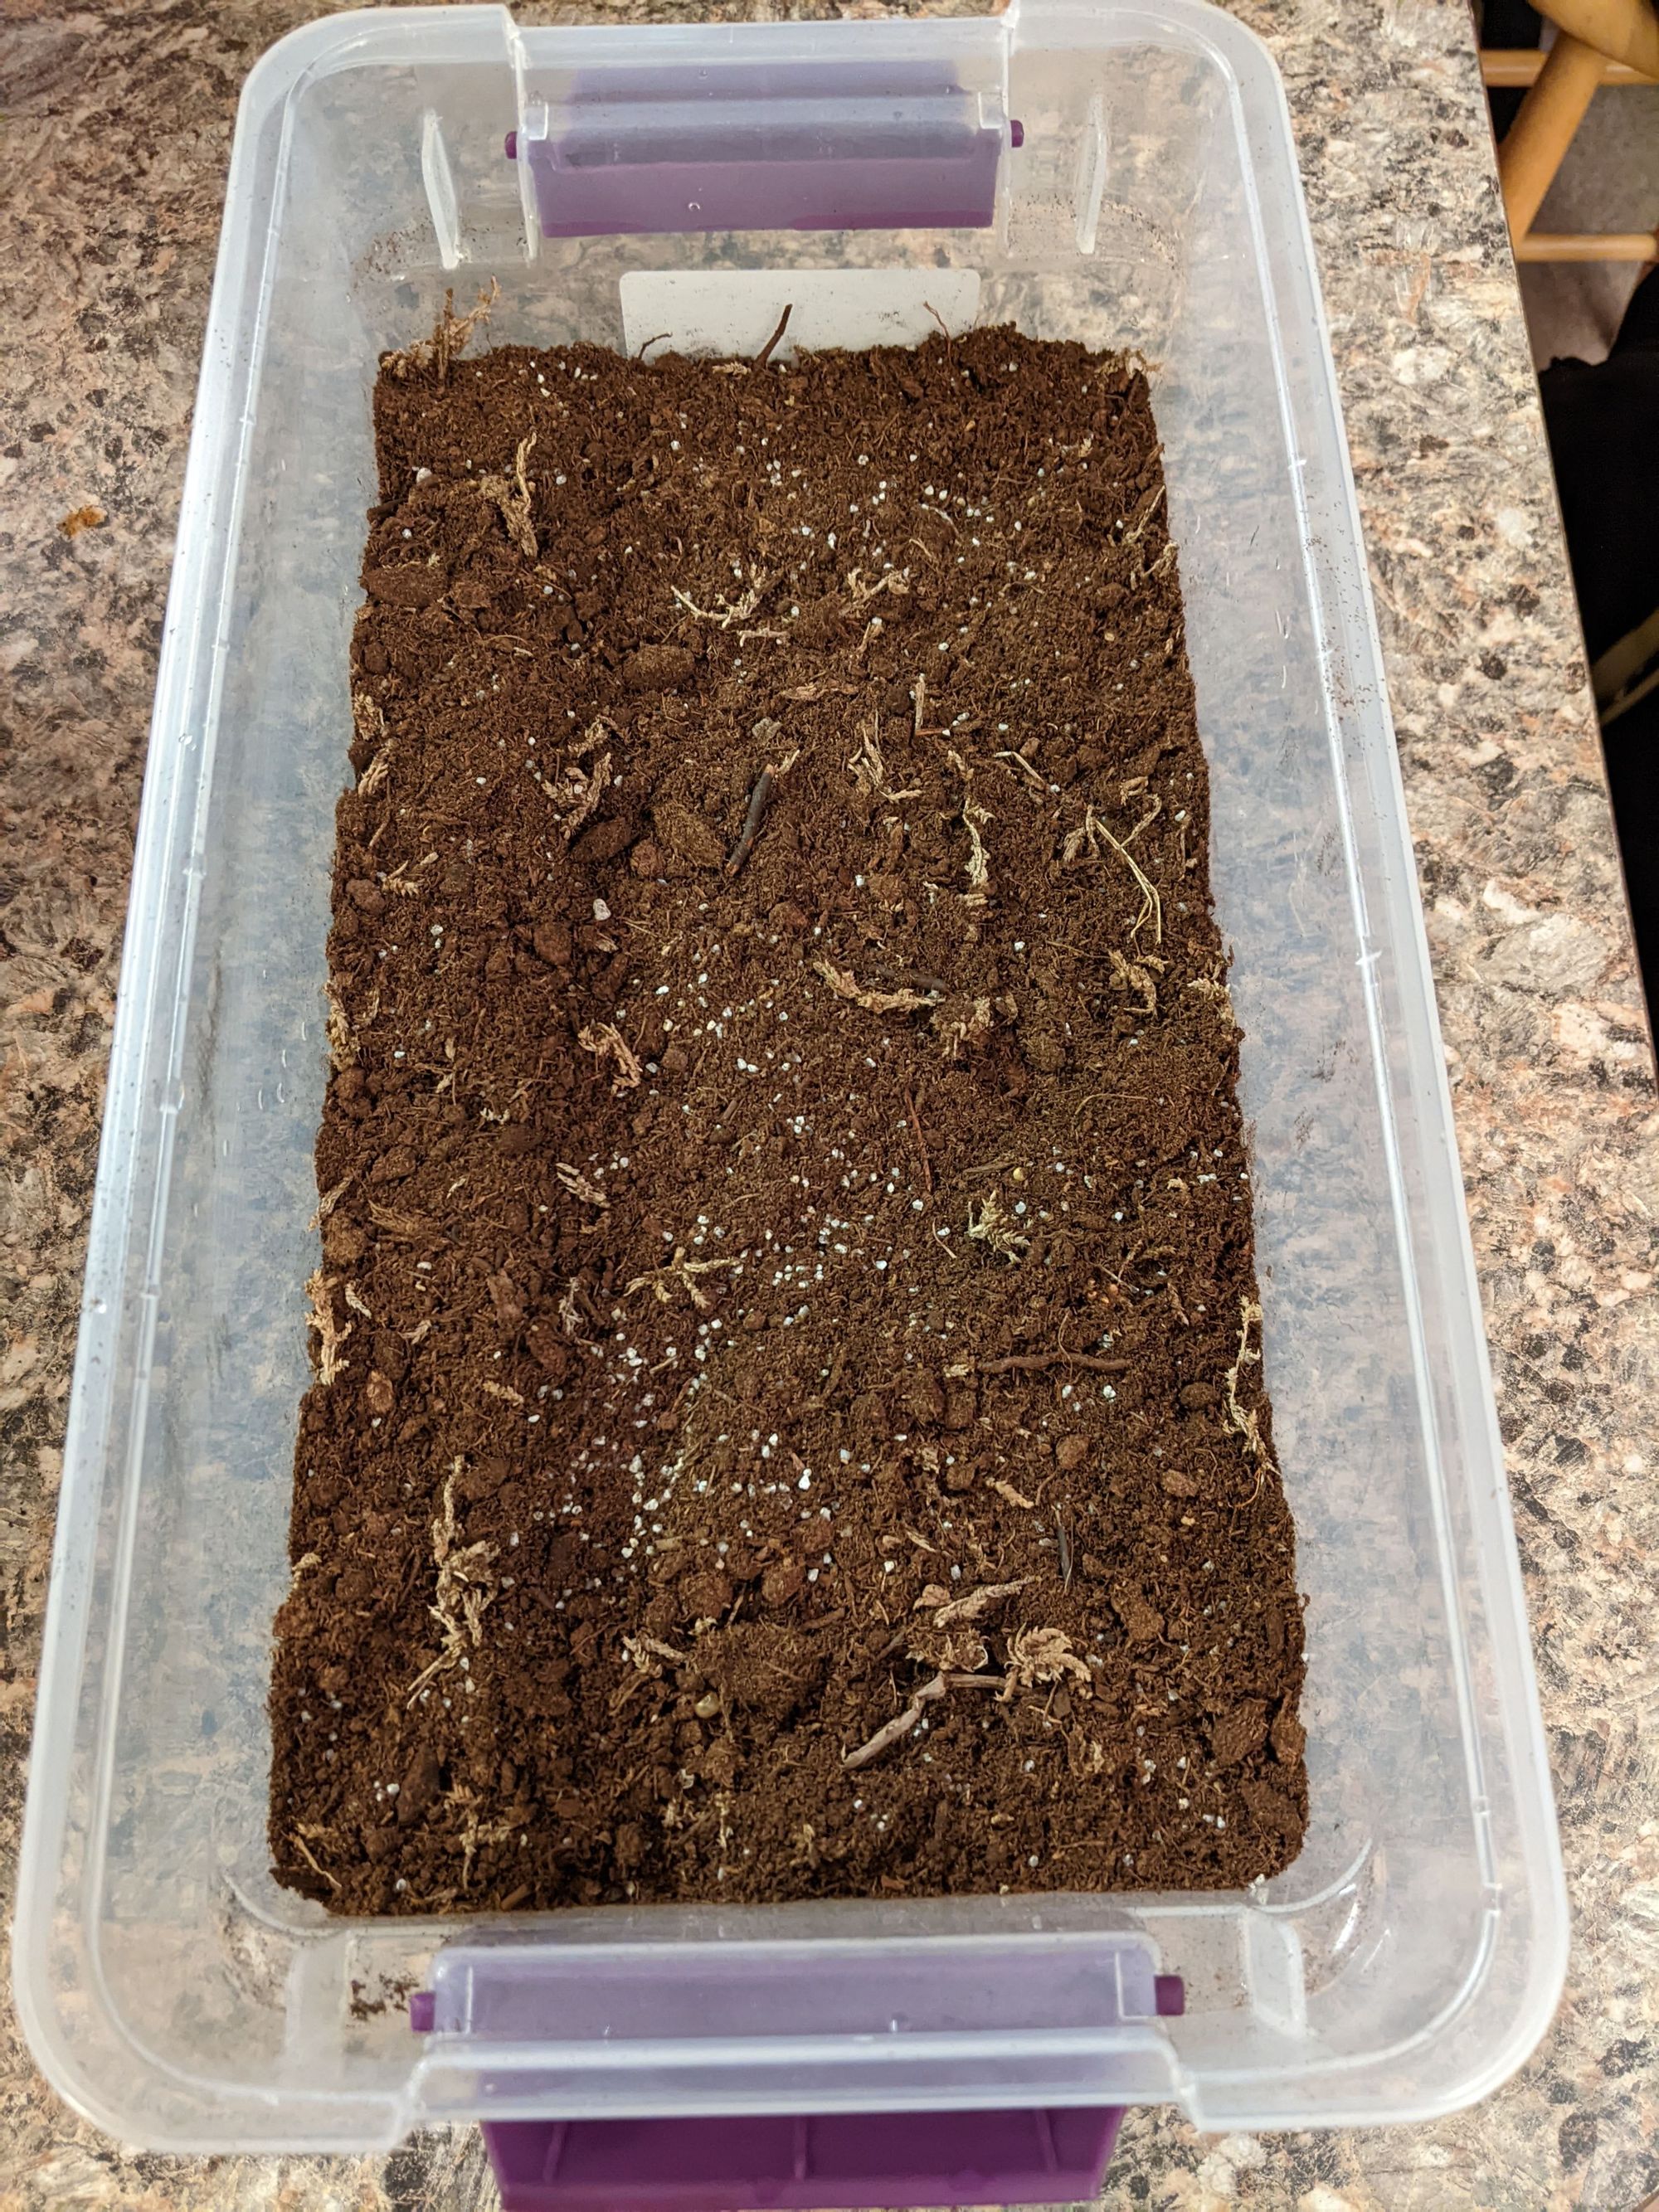
Now we’re getting to the meat of it! I make a mix of about 3-4 parts coco coir or peat moss, 1 part sand, and 1 part dried sphagnum moss. Natural coco coir or peat moss without fertilizers are preferred, but I have made successful terrariums with generic potting soil. Dirt from outside can even work and might bring with it some fun critters, but it also has a higher risk of decaying. The sand helps to keep the mixture loose to promote drainage, and the moss holds some moisture to prevent the mixture from drying out completely, but neither is required. I make a one- or two-inch layer of substrate, but terrariums with rooted plants may need more.
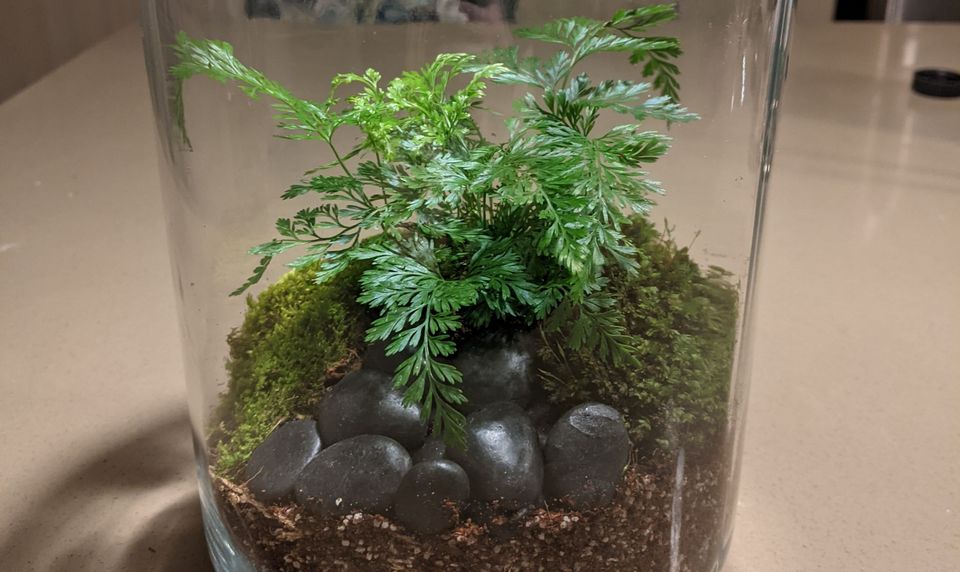
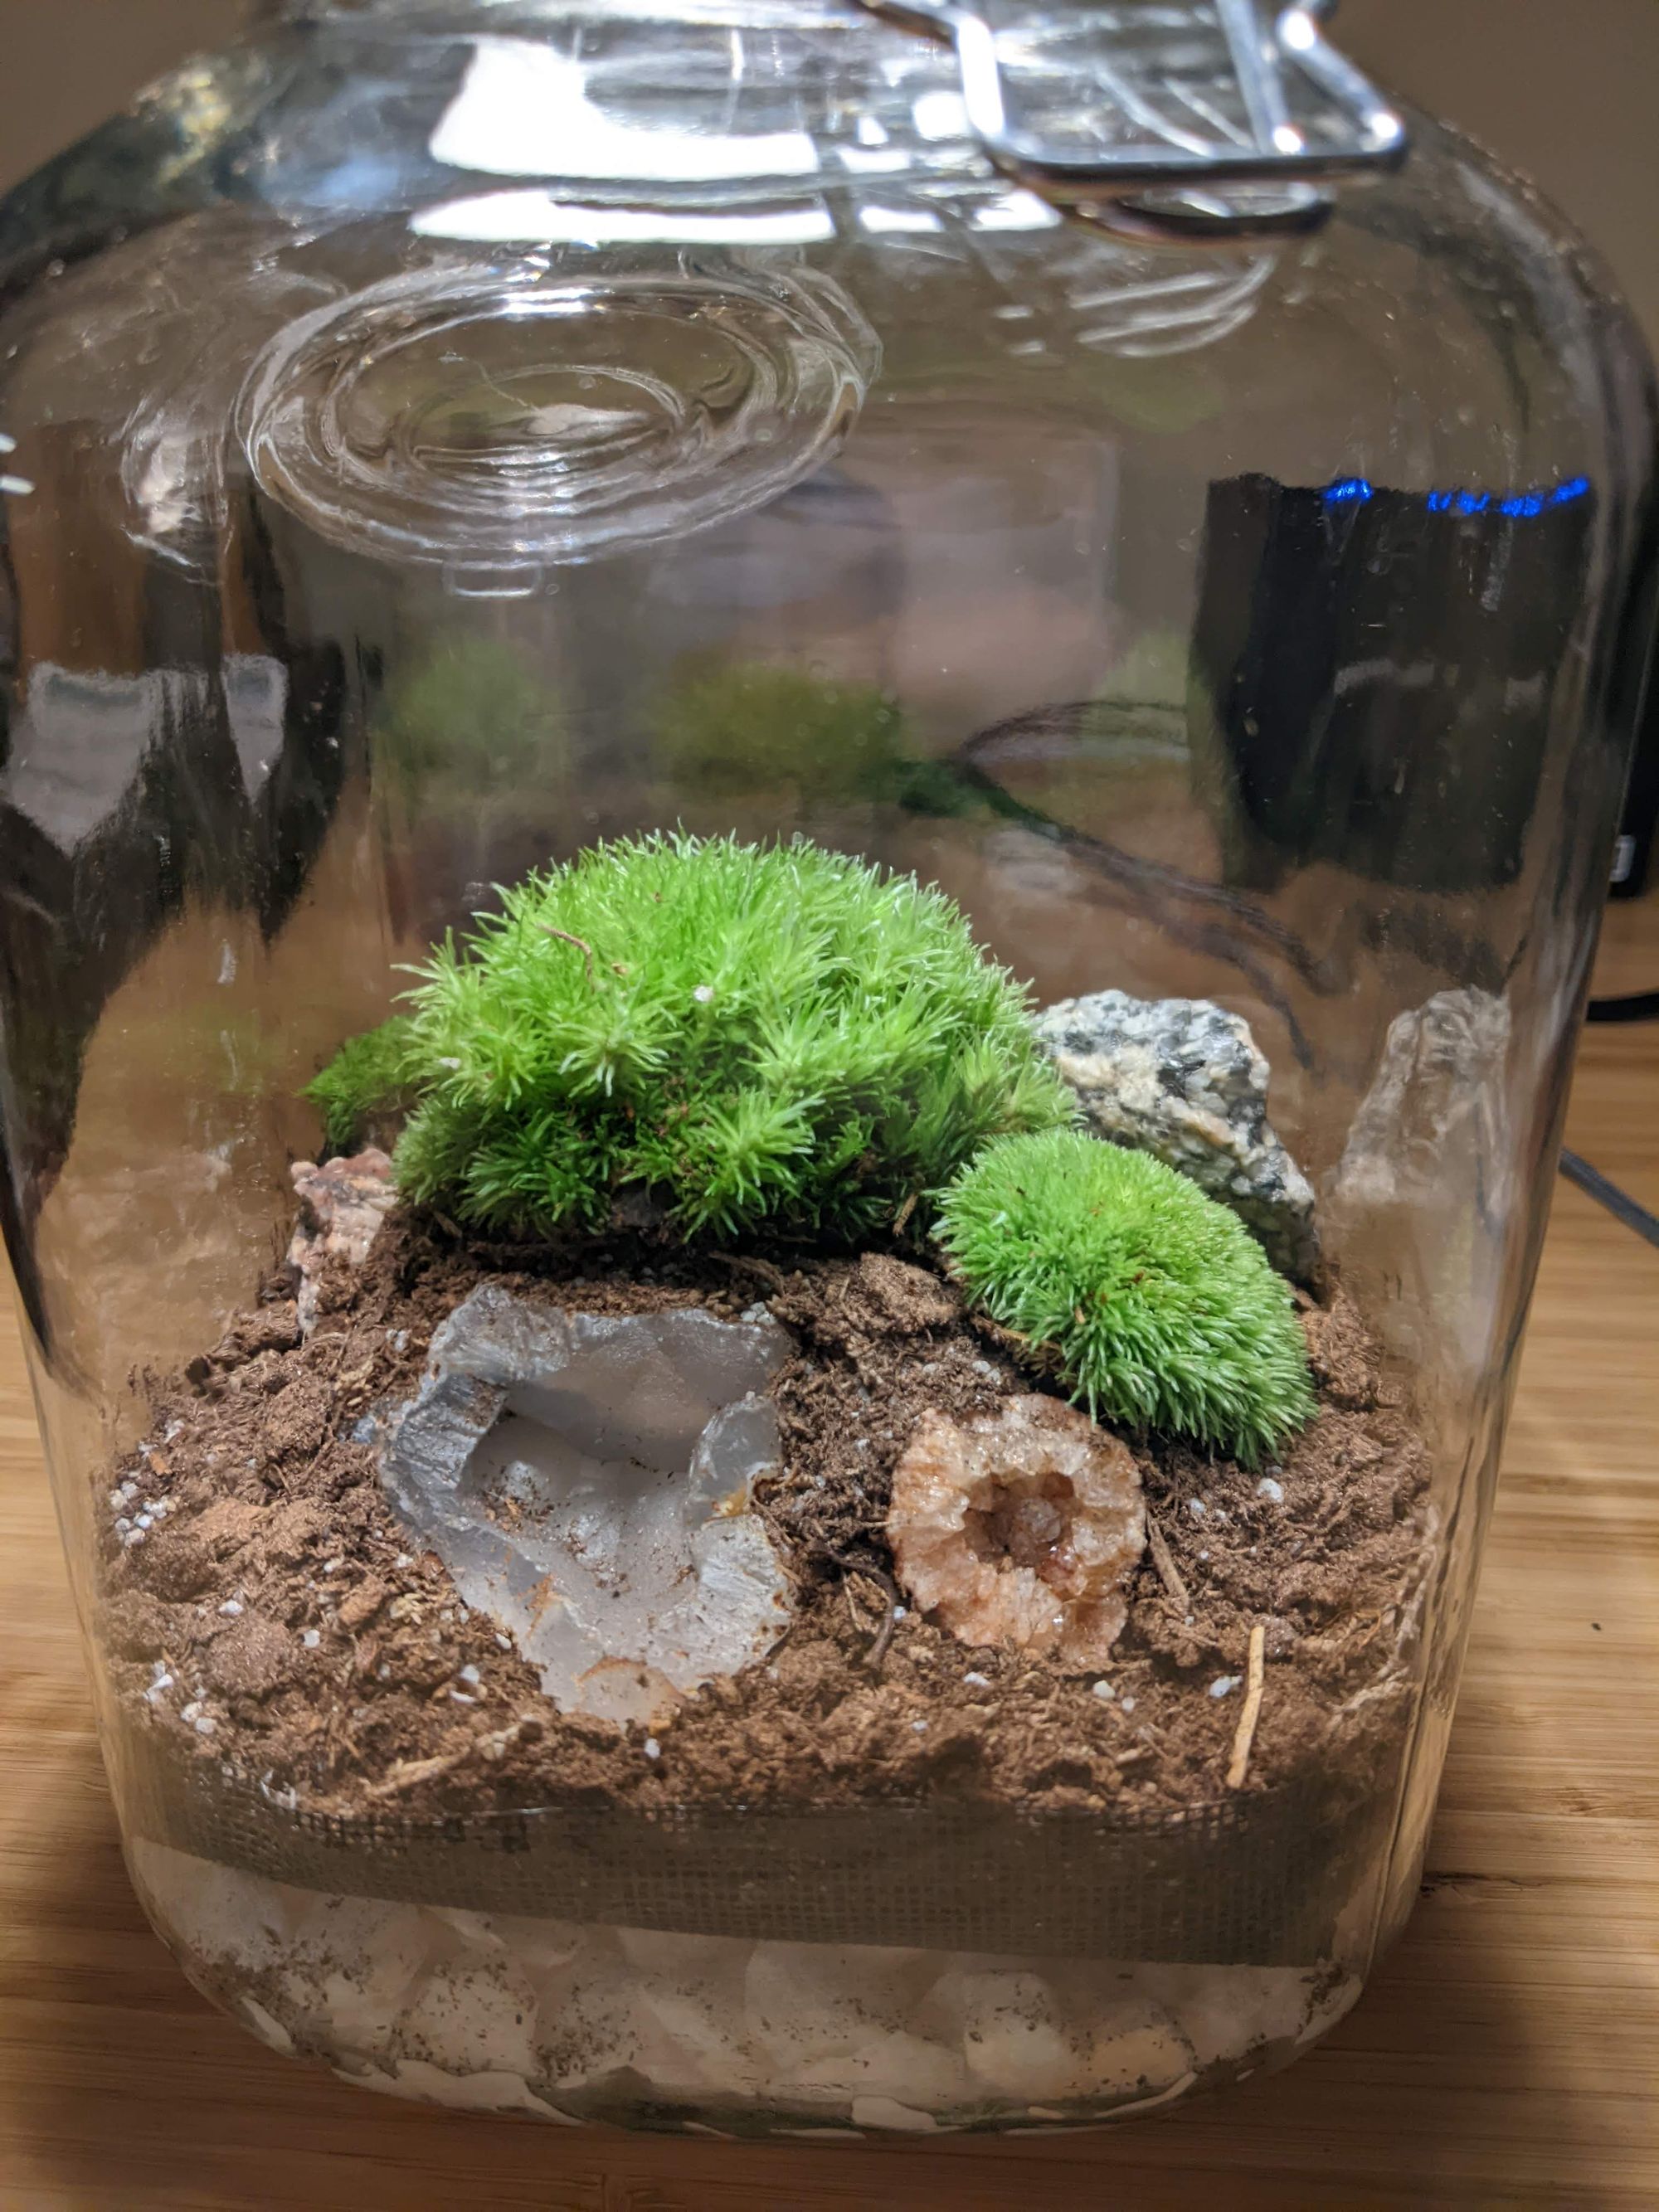
Add hardscape and plants
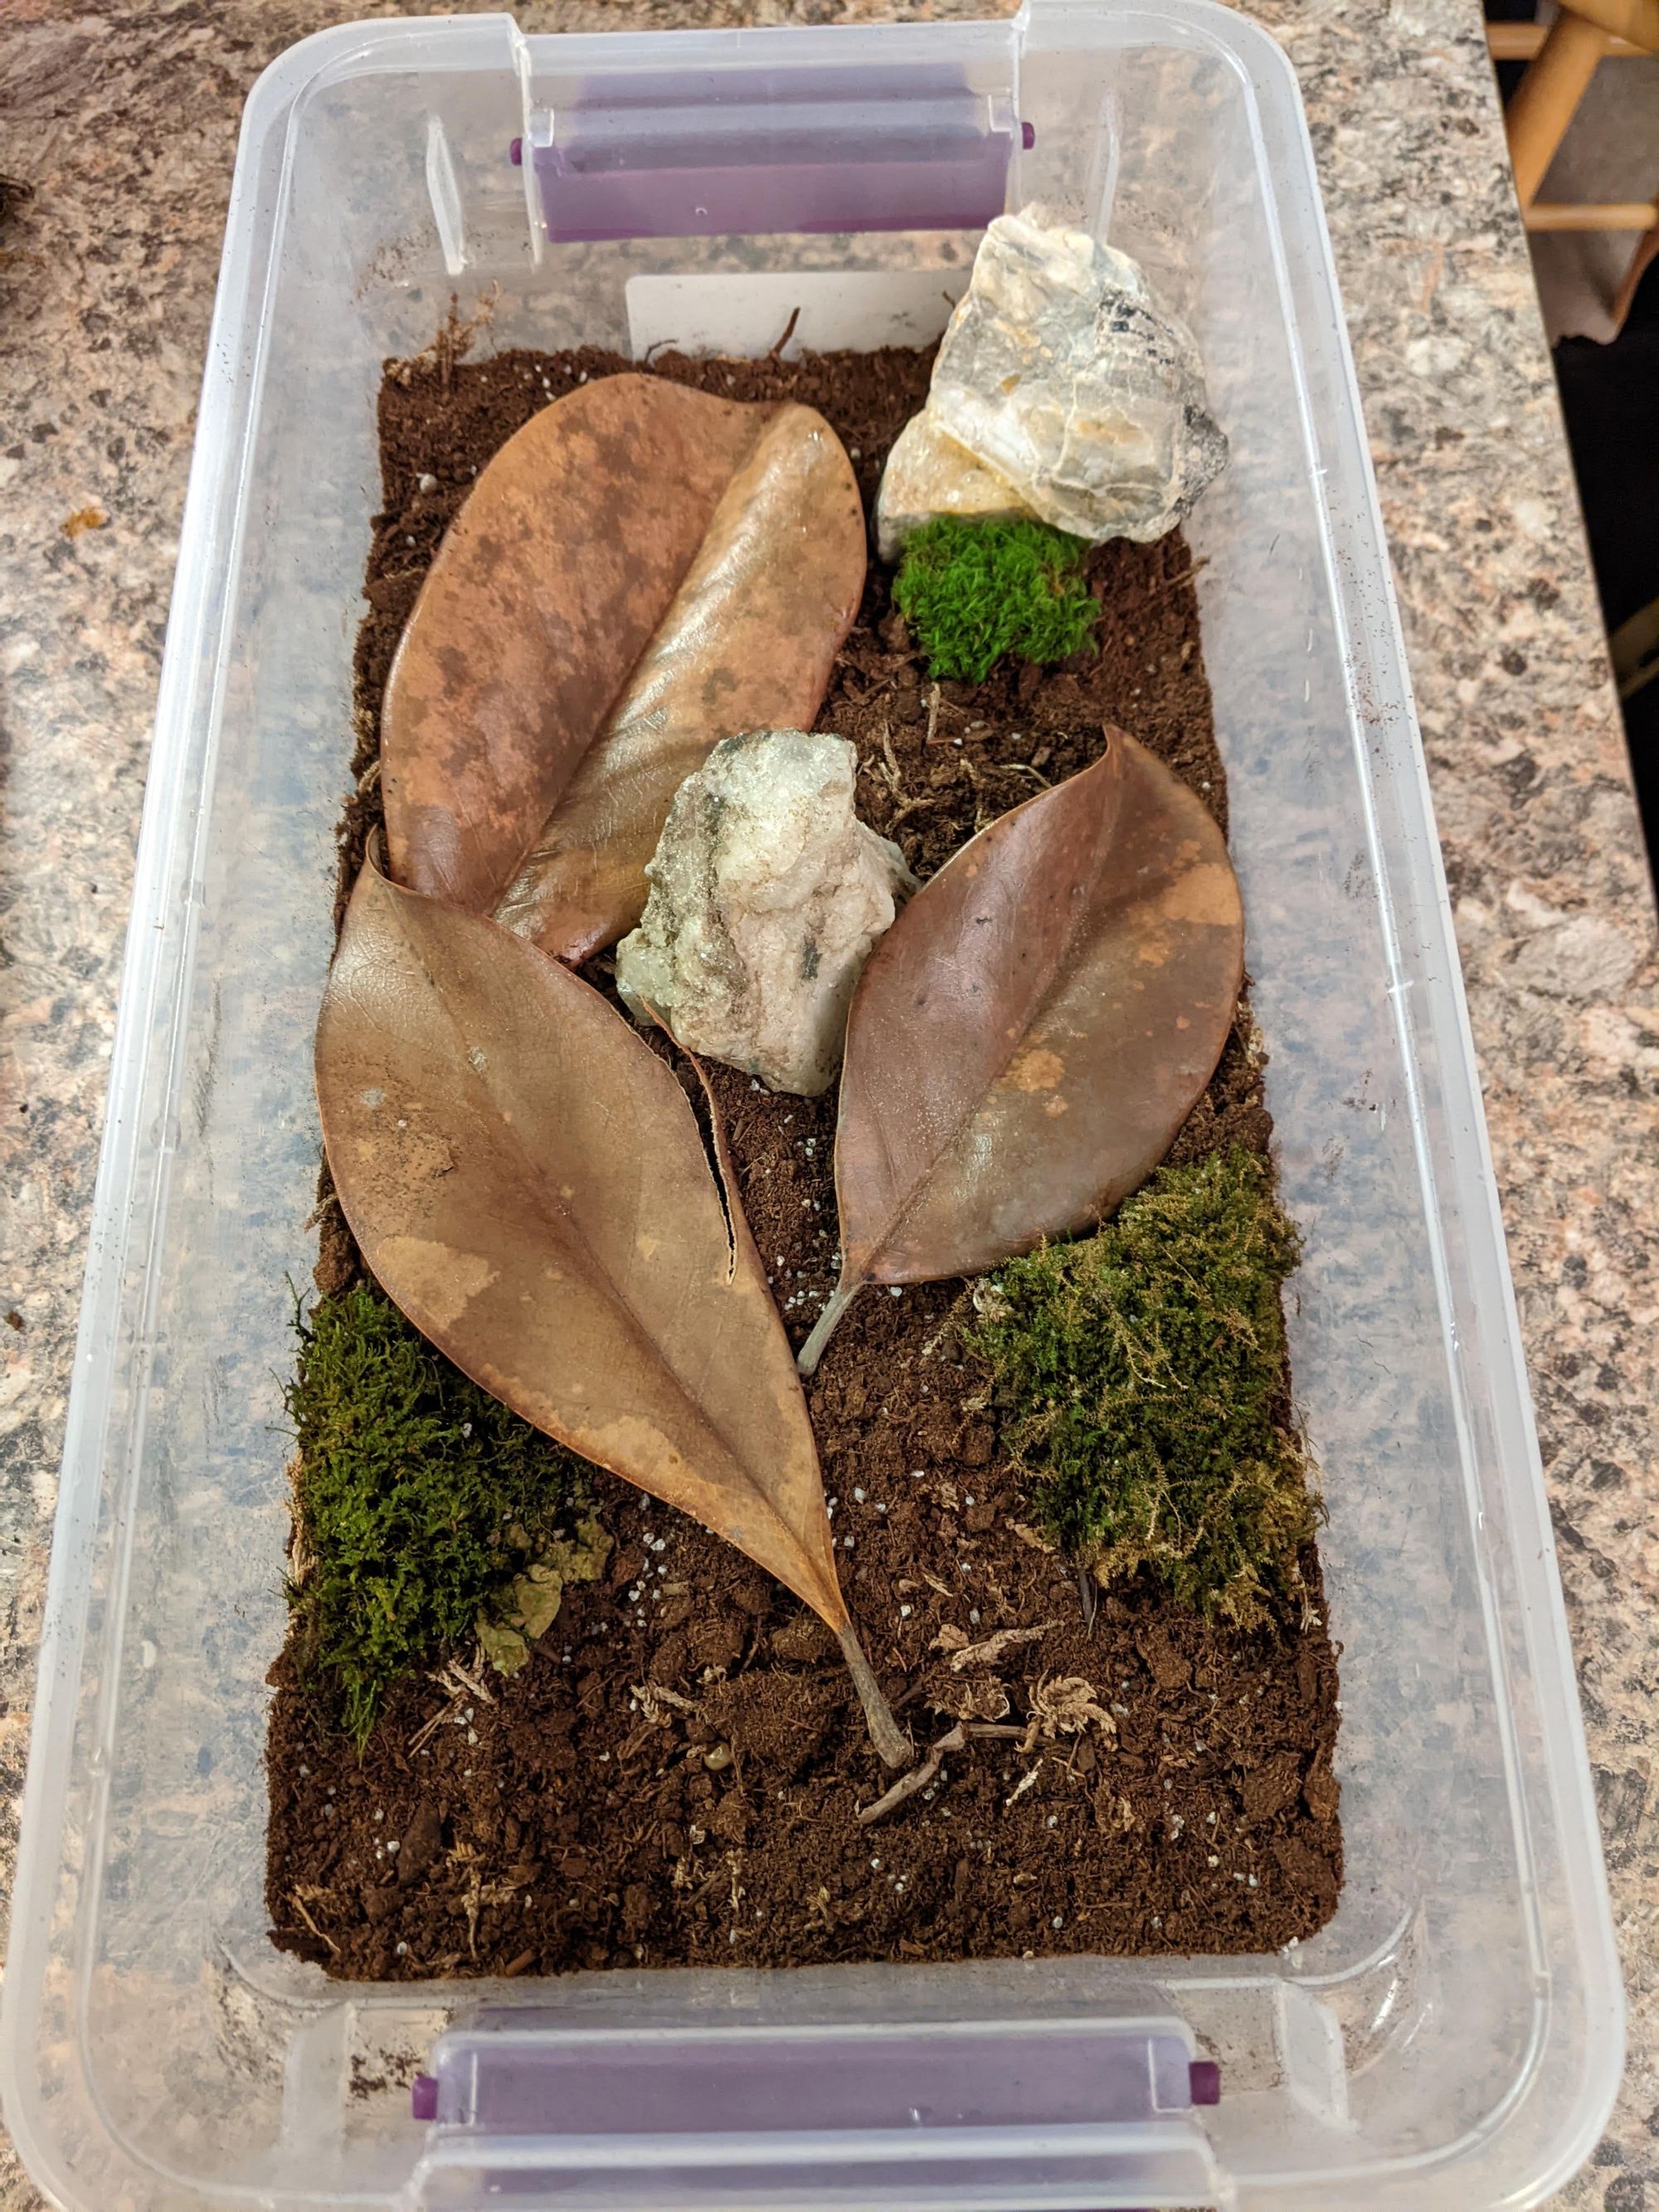
Now it’s time to implement your artistic vision. If you have some decorative rocks, add those first to create your hardscape. Then, quickly soak each patch of moss in a bowl of water and arrange them how you like in the scape. Give your terrarium a good misting once you’re done. Note that leaves and sticks can trigger decay and mold, which could take over the terrarium. I’m only using them here because I’ve got a cleanup crew coming in who happen to like a little decay…
(optional) Friends!
Look at them go! These are dairy cow isopods. Isopods are hardy creatures who will enjoy the high terrarium humidity and will help keep the space clean by eating decay. You’ll have to shop online to find dairy cows specifically, but roly polies gathered outside will work just as well. If you’re looking for a cleanup crew which isn’t as big and crawly, I add tiny springtails to every terrarium I make. They won’t halt a mold outbreak quite like isopods can, but they’re still a huge help. You only need to buy them once, and then you can keep your own springtail culture and use it to populate every build you make.
Display
Finally, we’ve made it! It’s time to show off your hard work. I have found the most success keeping my terrariums away from windows—relying on artificial light instead—as frigid winter nights and blistering summer days by the window threaten to kill your plants and bugs. Moss does not require lots of direct light to survive, so just put your terrarium on a desk or shelf somewhere which gets some light throughout the day. But if you want to take your display to the next level and simultaneously promote moss growth, a dedicated light and an outlet timer will serve you well.
Care
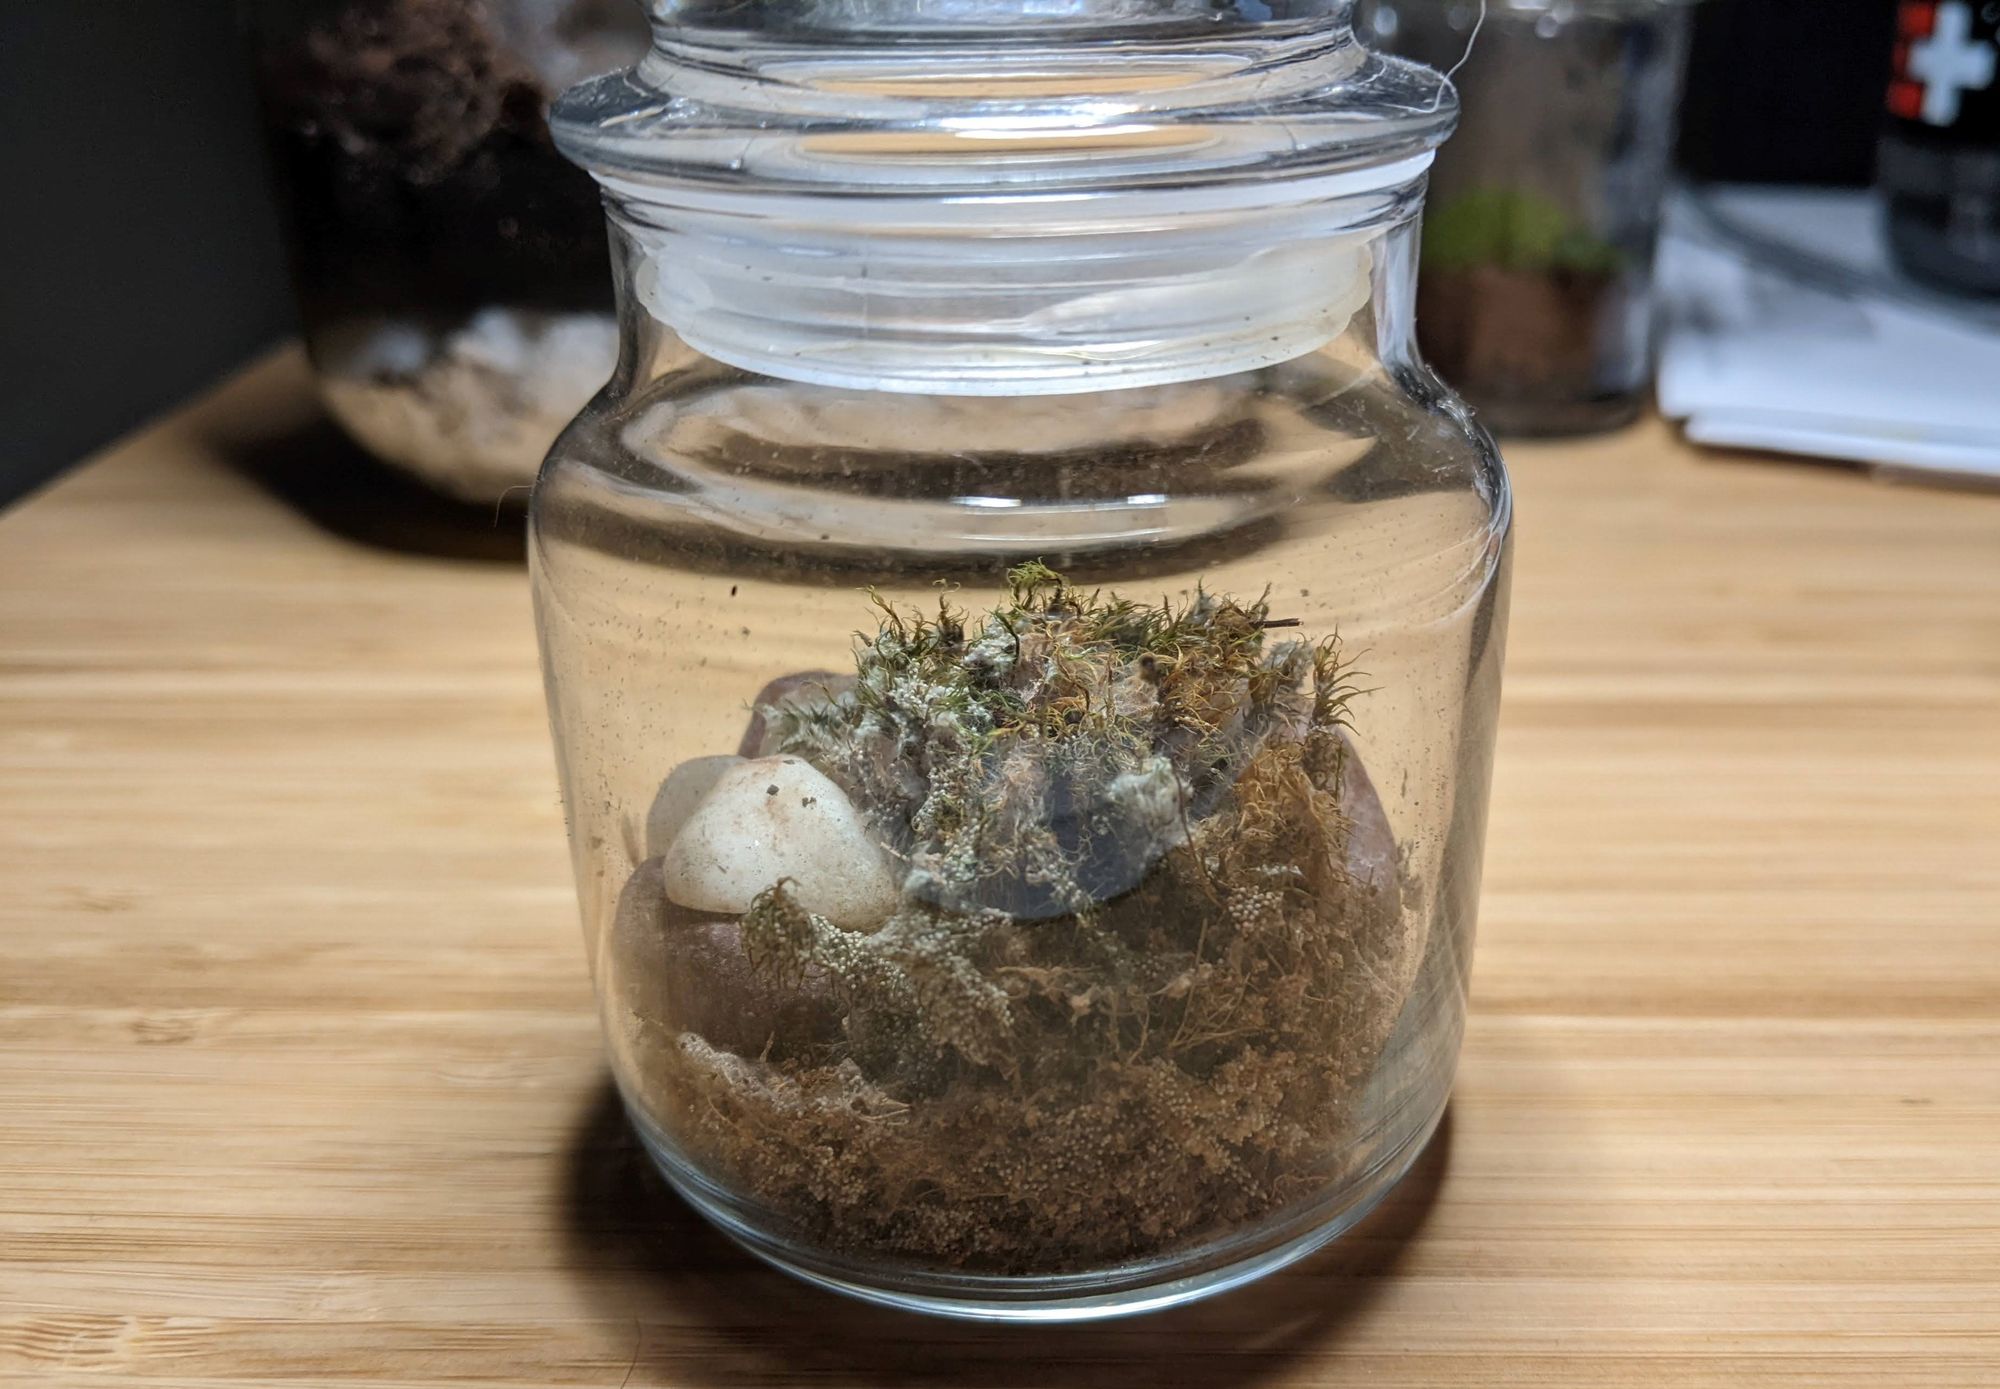
I first fell in love with terrariums because of the magical allure of the years-old, unopened terrarium. They still fascinate me to this day, but I now understand that they are few and far between. By all means, if your terrarium is going well, keep it sealed if you like, but if you notice a mold outbreak, refusing to open your terrarium may cost it its life. When I notice mold, I try to remove it with long tweezers, add more springtails to the terrarium, and hope for the best. Even then, the terrarium’s survival is a roll of the dice. If you’re not as enraptured by the idea of a sealed terrarium, you can also open it periodically to trim overgrown plants and clean the glass. If you are using a plastic container, the lid does not form a perfect seal, so you will have to occasionally give it a thorough misting to prevent it from drying out.
If you have made it this far, you’ve either already made your terrarium, or you’re clearly interested enough that you should! You won’t regret it.